History of Nail Polish Facts, Videos, and More
History of Nail Polish Facts,Videos, and More

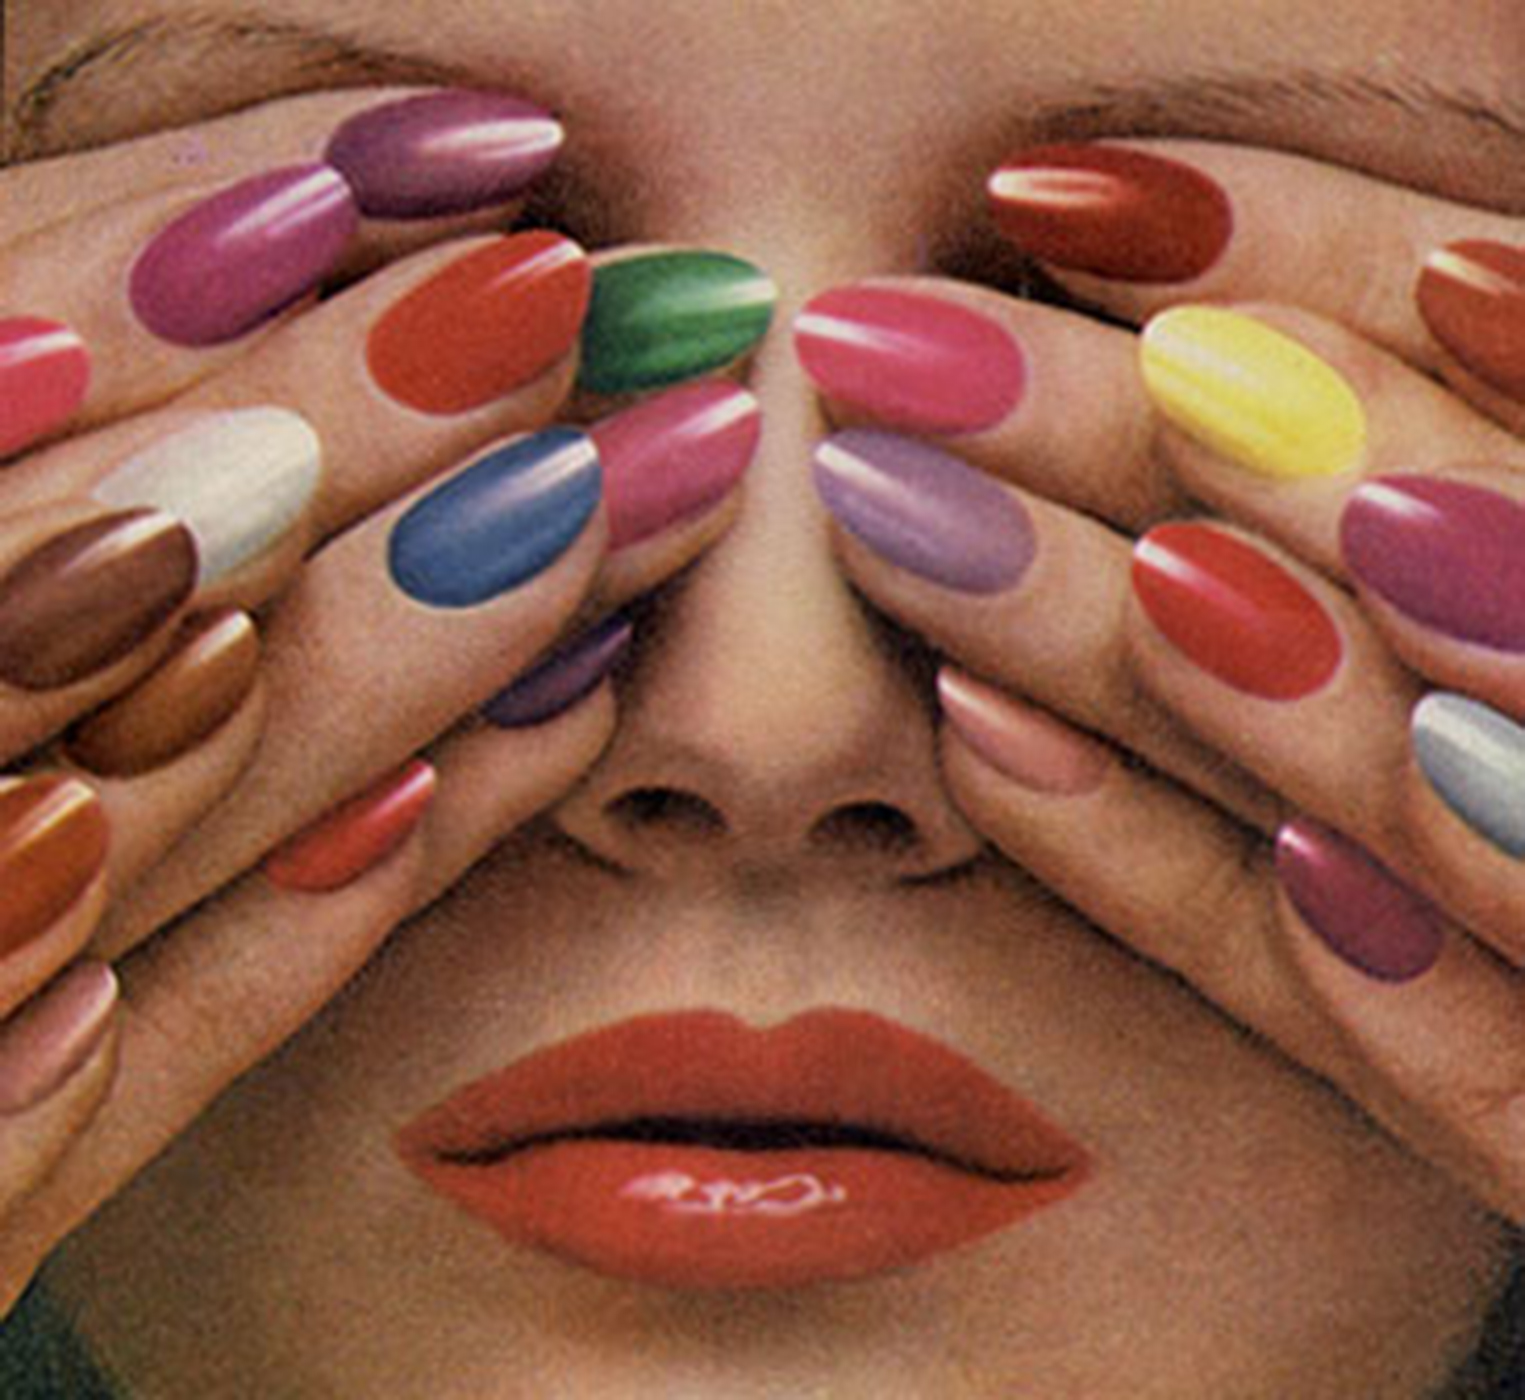
Hello everyone thank you for your support we are truly grateful for all your support, on week 277 we are sharing a post on the history of Nail Polish, from its origins to now, wow very interesting the developing of it and how much it has changed through the times, I am personally very thankful that it has because there were very toxic materials used to manufacture these products so nail polish has come a long way.
I usually let my nails breathe especially in winter. I only use nail polish for an event. I prefer it I am usually doing many activities with my hands and the nail polish doesn’t last me and I don’t favor the chipped nail polish look. With that said here, we go with the post enjoy and please share so other people can learn about it.
Nail polish originated in China, and its use dates back to 3000 BC. Around 600 BC, during the Zhou dynasty, the royal house preferred the colors gold and silver. However, red and black eventually replaced these metallic colors as royal favorites. During the Ming dynasty, nail polish was often made from a mixture that included beeswax, egg whites, gelatin, vegetable dyes, and gum Arabic.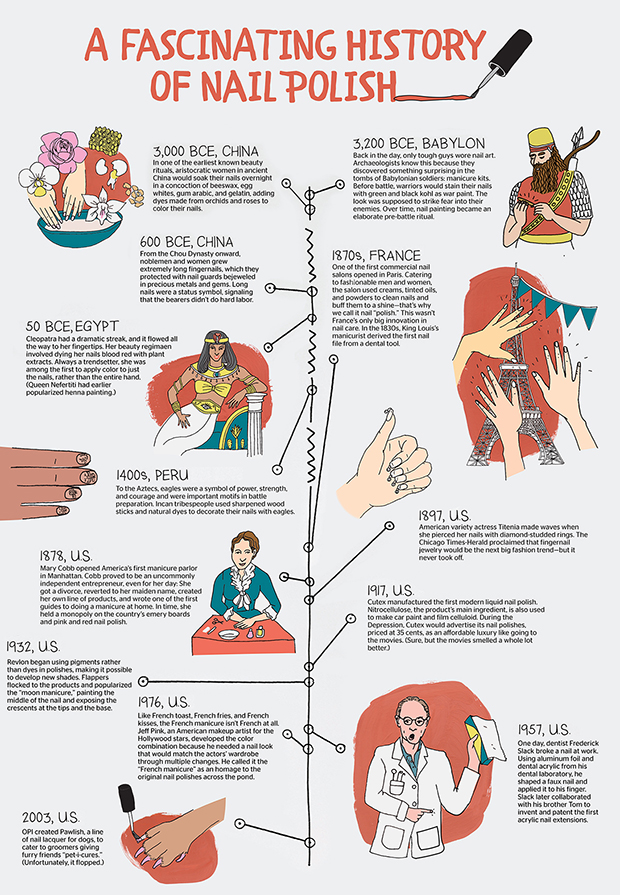
A Time-Consuming Process
from:http://classroom.synonym.com/origin-nail-polish-9845.html
While modern nail polish typically dries in a matter of minutes, that definitely wasn’t the case with the rudimentary versions made in ancient China. Once women painted their nails, they typically had to wait for several hours. Some women even went to sleep hoping for it to dry fully by the morning.
Zhou Dynasty and Nail Polish
During the Zhou Dynasty of the 11th to 3rd centuries B.C., women of different classes wore nail polish, whether they were privileged or not. Nail polish color denoted the social status of a woman. In 600 B.C., royals painted their nails with silver and gold. Average Chinese women were permitted to wear light pink nail polish. The consequences of not abiding by the color regulations were extremely severe. Any lower-class Chinese girl who painted her fingernails in royal colors would have faced the death penalty. By the time of the Ming Dynasty (14th to 17th century), royal nail polish color preferences had switched to red and black.
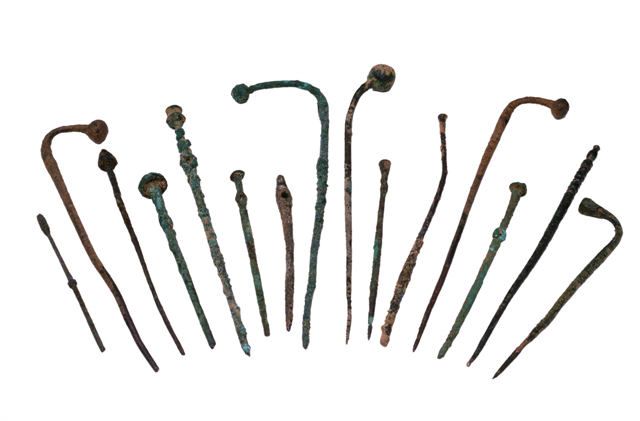
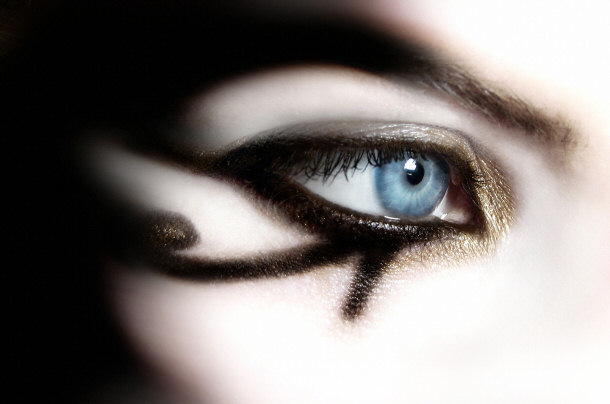
Nail Polish in Ancient Egypt

Although the Chinese were pioneers in the origins of nail polish, Egyptian women (and men too) were also coloring their nails by 3000 B.C. Their methods for painting their nails differed from the formulas used by the Chinese, but the color still signified social status, with deep red hues reserved for those of high rank. Ancient Egyptians often immersed their fingertips in reddish-brown henna, a type of dye extracted from flowering plants. Cleopatra, for one, was a big fan of henna for nail coloring. Ancient Egypt also produced some nail polish blends that were lacquer-like in a formula. Egyptian women frequently used berries to color their nails, too.
from: http://www.nailbargamax.it/the-history-of-nail-polish.html
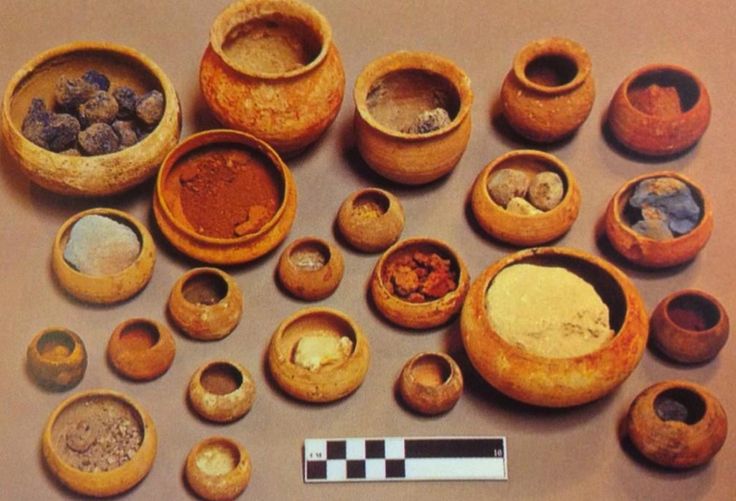
Different materials, techniques, and colors have transformed the use of nail polishes, always in line with the evolution of tastes and trends. The origins of Nailart were India and China. The history of ancient and millennial civilization. During the Bronze Age, the henna, obtained from the powder of dried leaves, starts to be used also for nails decoration and in 1500 B.C, in Mesopotamia, China, and Egypt, appear the first nail polishes, obtained from a mix of powders of crystal, malachite, and sulfur.
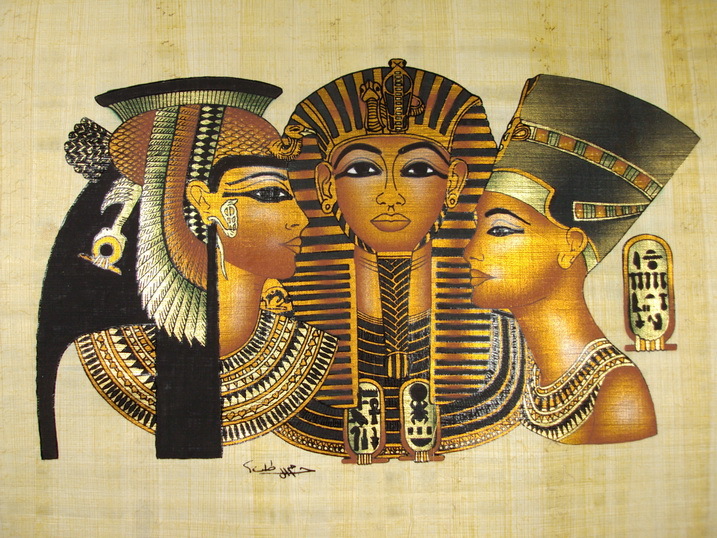
Nefertiti and Cleopatra are remembered, among other things, as two of the most beautiful women of their time. It is no surprise, then, that they were the first to make something as iconic as red nail polish famous! During their respective reigns, a societal hierarchy was indicated by the specific color worn. The stronger the shade of red, the more power the person possessed.
Although the practice likely existed earlier, sources suggest that Nefertiti, Queen of Egypt (14th century B.C.) colored her fingernails a ruby-red color. Nefertiti and her royal court would use henna (and sometimes even blood!) to color their nails.
The colors, that go from black to green, from red to gold, were used to define the belonging of a social class while sometimes, symbolizing the individual or tribal power. The colored nail polishes consist in real and unique representations, as traditional Incas narrations.
During the Medieval Age this practice was abandoned, and only restarted gaining popularity during the Renaissance in order to embellish the hands of noblewomen of that time. In the Victorian era, as explained in Madame Bovary – of Gustave Flaubert – with the protagonist Emma Bovary, a new nail polish became popular, made out of oil and chamois.
From: http://www.cosmeticsandskin.com/ded/polish.php
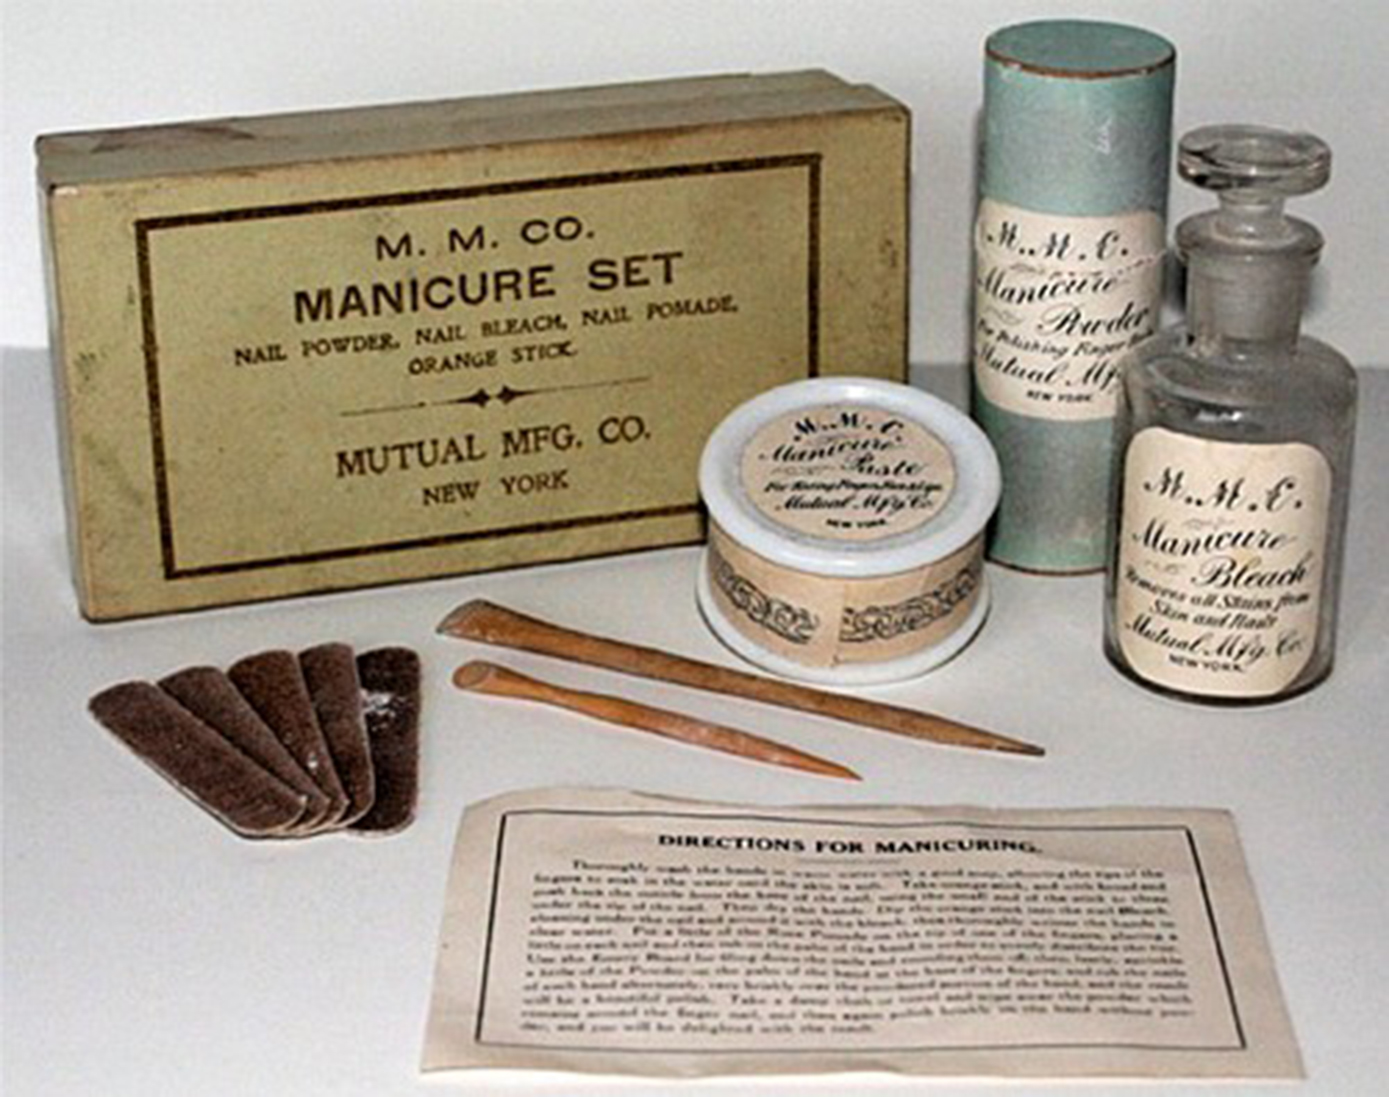
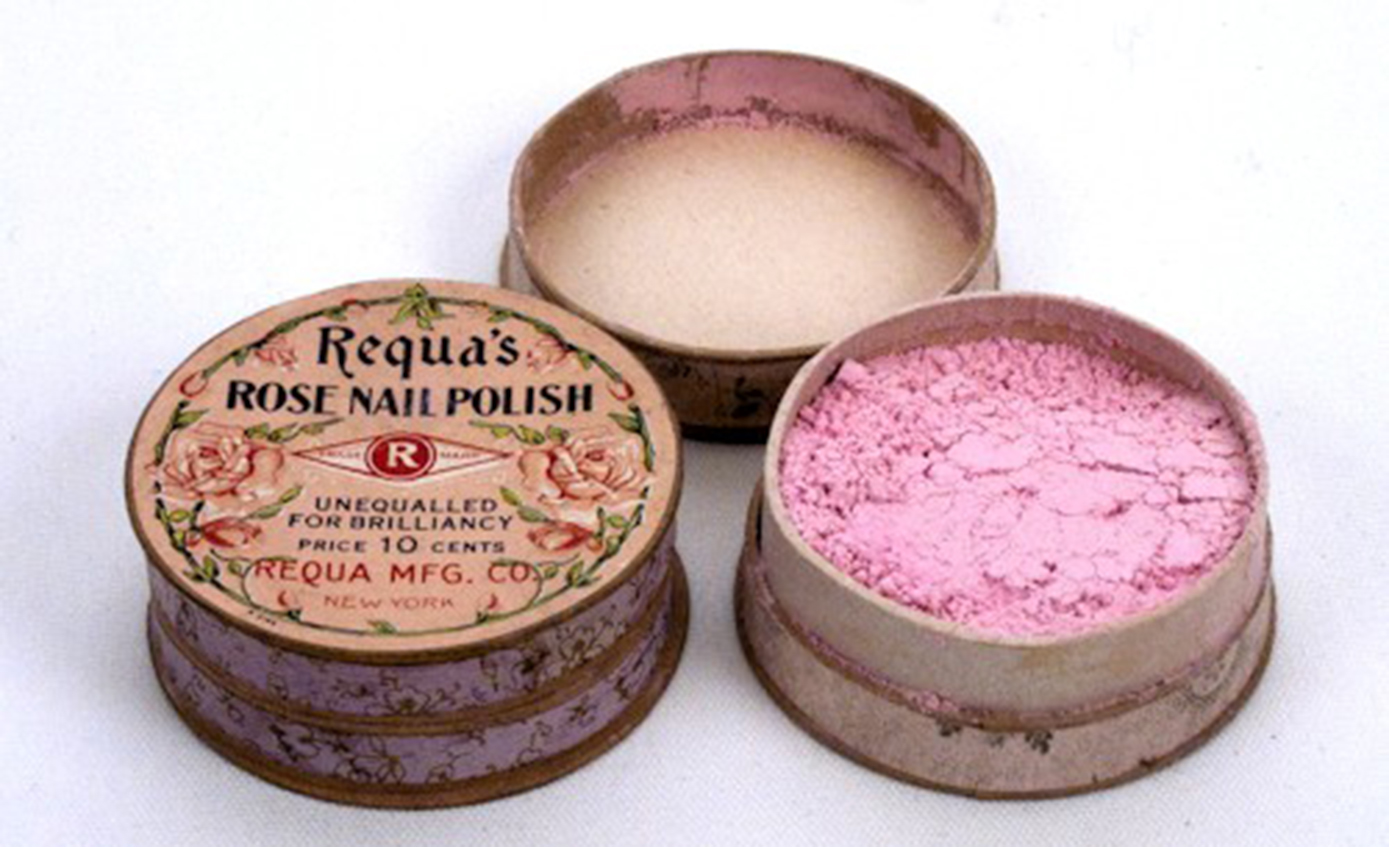
Until the 1930s, polishing powders were the main preparations used to shine the nails plate. These were made in many forms including sticks, blocks, pastes, loose powder and even liquids but all used fine abrasives that were buffed on the nail to produce a shine During the 1930s powder polishes were largely replaced by liquid polishes that were painted on the nails to produce a more or less instant shine. Early forms of liquid polishes were made using a variety of materials but eventually, most were formulated using nitrocellulose.
Wax polishes
Many paste polishing powders included waxes to help suspend the powder, thicken the paste and add shine. If the abrasive was left out of this mixture then any shine produced would be due solely to the wax, which polished the nail plate in the same way that a polishing wax makes wood furniture shine.
Wax nail polishes were made as pastes or liquids and what they lacked in effectiveness they made up for in simplicity of manufacture. Paste wax polishes were simple mixtures of substances like beeswax, ceresin, spermaceti and soft paraffin, melted together and poured into small pots.
Wax polishes could also be made as a liquid by dissolving the wax in a suitable solvent, either cold or gently warmed in a steam-heated mixing bowl. When applied to the nail plate the solvent evaporated leaving a thin layer of wax behind. As the solvent used was highly volatile, these liquid polishes had to be sold in sealed stoppered bottles.
Solvents and films
Liquid wax polishes were the first nail polishes that used a solvent to deposit a film on the nail plate. The film helped protect the nail and maintain the shine for a longer period of time, thereby reducing the need to rebuff the nail. Liquid wax polishes were often applied over a nail that had first been buffed with a polishing powder – so they simply helped to preserve the polished surface – but they could also be subjected to further buffing after the wax polish had dried.
When nitrocellulose polishes appeared, the need for buffing was reduced and eventually disappeared. However, old habits died hard and reference to buffing – either before or after applying a nitrocellulose polish – were still occurring up until the outbreak of the Second World War.
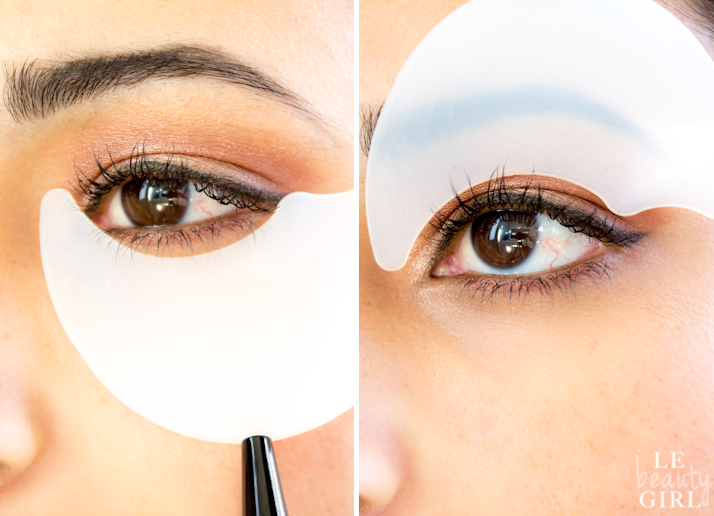
Before applying varnish, if it is to be used, the nails must be well polished with the buffer and one of the various preparations now in favor, which are generally made in stone, powder, or cream form. … Never apply varnish to a nail that has not been burnished in this way; otherwise, the natural gloss of the nail will eventually disappear. … Care must be taken in its application to obtain an even surface. Work is always from the lunule down towards the fingertips.
Many French women to-day varnish from the entire base right over the nail. This is not really very becoming. The half moon showing is always rather intriguing. Dip the brush in the varnish and then press against the bottle so that only a portion remains on it; this guards against the excess of varnish, which usually results in a blob on the nail. Make an even sweep with the brush from the half-moon down to within ½ in. from the edge, or where it can be seen that the nail ceases to adhere to the flesh. The amount on the brush is usually sufficient for two lengths of the nail. Be careful not to allow the varnish to contact with the edges of the cuticle, as this spoils the effect. Allow to dry and apply a second coat, and once again when the enamel has completely dried use the buffer.
Varnishes and lacquers
Once the idea of applying a film of polish to the nail with a suitable solvent had taken hold, the door was opened to using other varnishes and lacquers, many of which had been developed in the nineteenth century. The range of materials used included shellac, gum benzoin and cellulose nitrate (nitrocellulose). Although these liquid nail polishes appeared early in the twentieth century it took a while for serviceable polishes to be developed and for the idea to catch on.
When industrial lacquers and varnishes began to be used, it became possible to source nail polishes from larger and older lacquer firms that had the technical knowledge to deal with this dangerous material and the facilities to produce polish in bulk. This left nail polish companies with the relatively simple tasks of bottling, packaging, selling and distributing the polish meaning that they could to start with relatively small overheads. A number of new nail polish firms began in this way, perhaps the most important of which was Revlon.
The wise manufacturer selects one of the private label house to make his enamel. Elaborations and special effects can be worked out.
The danger from fire—perhaps even explosions—is so great that the risk isn’t worth the result. Private label houses in many cases have spent years in perfecting their clear lacquer. They have studied every conceivable coloring material and know its behavior in nail lacquer. Most of all they know the dangers of the business and are adequately protected.
Many successful businesses have been built in this field by delegating the manufacture of nail lacquer to the private label house.
Given the relationship with the varnish and lacquer industry, it is understandable that many early liquid nail polishes were known as varnishes or lacquers. However, they were also referred to as polishes or enamels by cosmetic companies and beauty writers of the time. Unfortunately, the story of nail polish in the twentieth century is muddied by the fact that the terms polish, lacquer, varnish and enamel were used haphazardly and covered a wide range of nail products.
Benzoin polishes
Benzoin-based nail polishes provided a reasonably good shine to the nail but they took longer to dry, required buffing to bring out the shine and had a tendency to become brownish in color, so could not compete with cellulose nitrate polishes in the long run.
Poucher (1932) provides us with a formulation for a gum benzoin polish, tinted pink with a small amount of eosin, perhaps to hide the brown, but a similar product could be made that was completely clear.
Nitrocellulose polishes
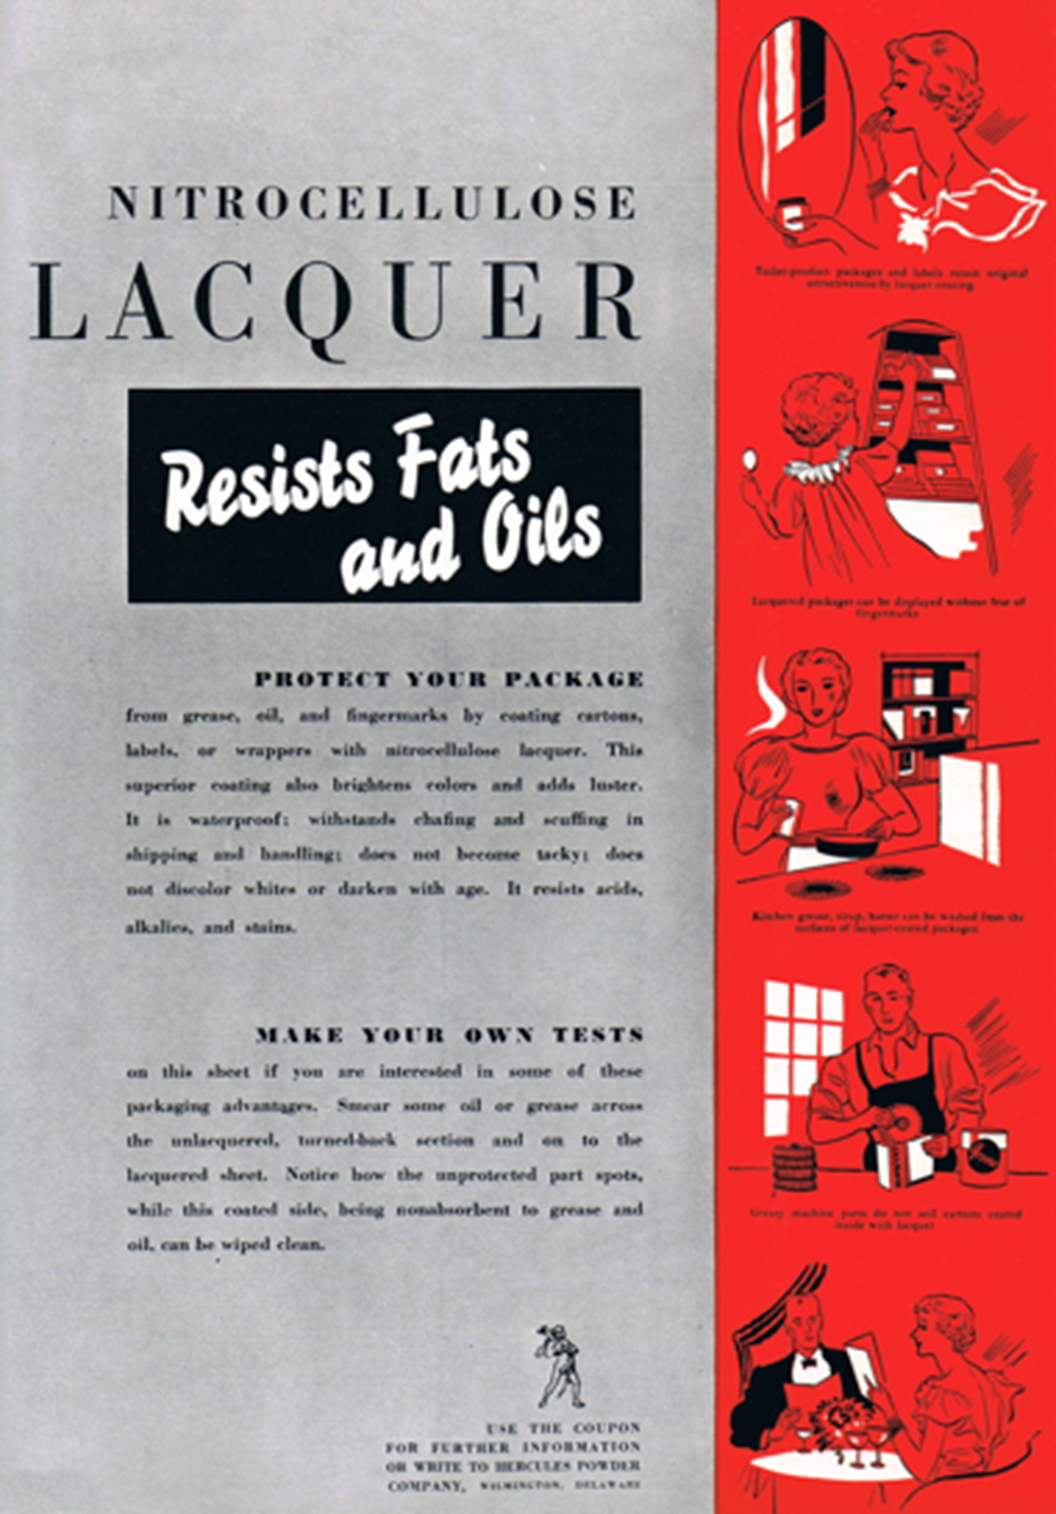
Nitrocellulose – also known as cellulose nitrate – is produced by immersing cellulose in nitric acid, or a mixture of nitric and sulphuric acids, for a short time. A common source of the cellulose in the United States was cotton and when nitrated it was known there by such names as pyroxylin, nitrocellulose, nitrocotton, soluble cotton or guncotton, in part depending on the composition of the cellulose nitrate which varied according to how much the cotton had been acted on by the nitric acid.
A number of uses were found for cellulose nitrate in the nineteenth century including the manufacture of explosives, celluloid (an early plastic), nitrate film stock, varnishes and artificial silk. Some of these technologies relied on the fact that partially nitrated cellulose could be dissolved in organic solvents – like alcohol, ether, and acetone – and when these evaporated a clear film was left behind.
Collodion and liquid court plaster
Collodion was first produced in 1846 when Louis-Nicolas Ménard [1822-1901] and Florès Domonte produced a clear gelatinous liquid by dissolving pyroxylin (a partially nitrated cotton) in a mixture of ethyl alcohol and ether. Its discovery was put to good use the following year when John Parker Maynard [1817-1898], a Boston physician, discovered that dried collodion formed a clear, waterproof, protective film over a wound. Maynard’s discovery gained wide medical acceptance and led to a number of commercial forms of this liquid medical dressing being put on the market, generally badged as liquid court plasters.
Early liquid court plasters tended to contract and crack on drying but a flexible form was later developed an important advance. It used plasticisers like Canada balsam and castor oil to produce a film that could bend and flex with the skin.
In 1882, John H. Stevens [1853-1932] patented the use of amyl acetate as a solvent for pyroxylin. It produced a more durable, transparent film than that generated from using ethyl alcohol and ether, and it found a number of industrial uses including the development of nitrocellulose-based wood and metal lacquers.
Liquid court plasters were also formulated using amyl acetate rather than ethyl alcohol and ether.
Given the developments in nitrocellulose-based medical dressings, and industrial varnishes and lacquers, it was almost inevitable that someone would produce a nitrocellulose-based nail polish. Exactly when the crossover happened is open to question, with most cosmetic chemists placing this landmark event in the history of nail polish in the late 1910s or early 1920s. However, evidence suggests that it took place a good deal earlier than this. For example, the Bijou Chemical Company of New York was putting their Bijou Fluid into a nail polish/enamel as early as 1903. Given that this preparation also formed the basis for their liquid court plaster, a metal lacquer, an adhesive, and a leather waterproofer, there seems little doubt that Bijou Fluid was a flexible collodion containing nitrocellulose, and that their nail polish was nitrocellulose-based.
Unfortunately, the situation regarding liquid nail polishes produced before 1920 is far from clear. As I have already noted, there were numerous liquid nail polishes on the market before 1919, but it is difficult to know whether they were made as liquid abrasive powders, liquid waxes, liquid benzoin polishes or liquid nitrocellulose polishes, without access to their original formulation.
Nail polish and automobile paint
One reason why some have suggested that nitrocellulose nail polishes were developed in the 1920s is the belief that they were inspired by developments in glossy car paint, specifically the Duco Paint that E. I. du Pont de Nemours developed for General Motors in 1923. This seems unlikely. Although it is true that Duco Paint is based on nitrocellulose, came in a wide range of colours, and was advertised as having a fast-drying, tough, durable, waterproof finish, Duco was designed to be sprayed on not painted on, required at least twelve hours not minutes to dry, and only had a satin sheen so required further polishing to develop a high gloss (E. I. du Pont de Nemours, 1925). This, and the 1923 date suggests that the development of Duco Paint coincided with a greater use of nitrocellulose in nail polish but was not directly responsible for it; both products evolved from the varnish and lacquer industries.
Celluloid film stock and nail polish
Nitrate (celluloid) film was patented by Hannibal Williston Goodwin [1822-1900] in 1898. It was later reinvented by the Eastman Kodak Company – which started a legal dispute which was not settled until 1914. Eastman Kodak reportedly made their celluloid film stock by dissolving pyroxylin in a mixture of methyl alcohol, amyl alcohol and amyl acetate (Sabin, 1904, p. 113). Camphor was added as a plasticiser and the resulting film was then coated with a photosensitive gelatin emulsion.
Given that nitrate film was liable to catch fire, it was dangerous to store and was often sold as scrap after a movie had played out in cinemas. A nail polish could be made from this film scrap by stripping off the gelatine and then dissolving the remaining film in amyl acetate and acetone or other solvents.
The preparation used by photographers which consist of celluloid obtained from scrap sources and dissolved in amyl acetate is widely employed.
The work consists of cutting up the scrap and charging into a comparatively large mixing pan, because of the space occupied. Amyl acetate and acetone are poured into the pan, and heat gently applied.
The consistency of the product can be varied by the amount of scrap added and should be reduced to a syrupy condition. some selected perfume is then added in the usual manner and the charge emptied.
Scrap celluloid was widely used to make nail polish early on but the practice began to disappear in the 1930s. Using scrap celluloid film was cheaper but the presence of any synthetic camphor adversely affected the brightness of the finish so its use had declined by the time the Second World War broke out. When nitrocellulose supplies were diverted for the war effort there was a renewed interest in using celluloid film stock but this faded when normal supplies resumed after 1945.
Color
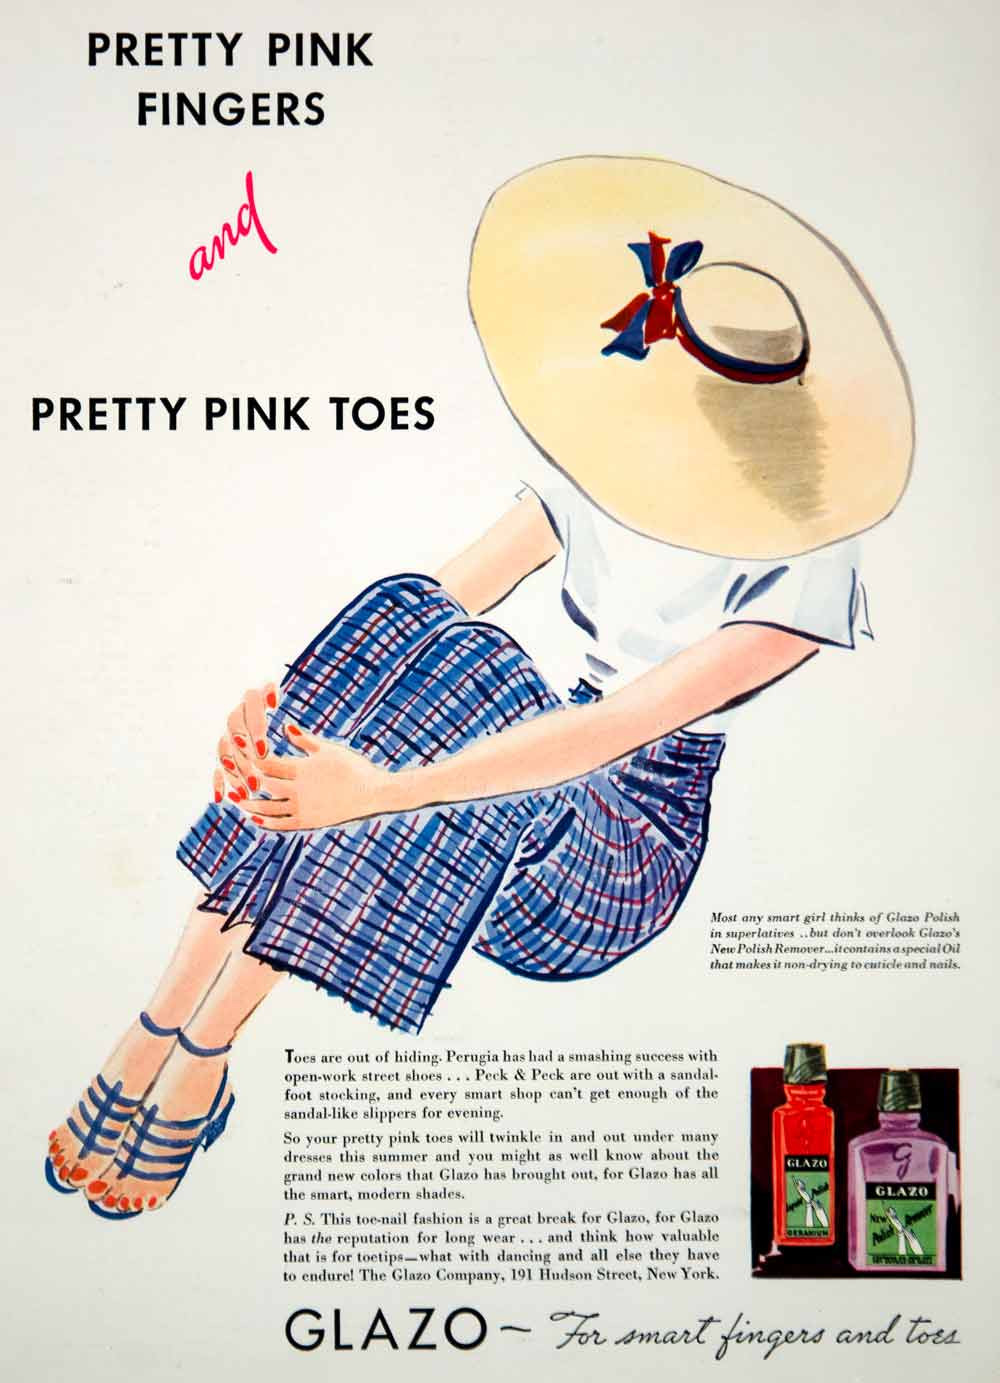
The first nitrocellulose nail polishes were generally made in a clear ‘Colourless’ or pink ‘Natural’ shades. The pink color was produced using dyes like carmoisine, safranine, erythrosine or phloxine. By the end of the 1920s nail color had become more obvious, with many companies making enough shades enable nail polish to match the clothing colors that a woman was wearing. Mother of pearl polishes, made by adding in fish-scale essence, also made an appearance.
Although companies like Glazo made nail polishes in a wide range of colors, manicurists could also mix up colors to meet the needs of individual clients. Unfortunately, it is clear how a manicurist accomplished this for their society clients. Some materials such as gold, silver or pearl powder could be mixed directly into clear polish as could some colors. It is also possible that manicurists first applied color to the nail and then covered this with a clear nail polish. Clients could return the following day to have it replaced with something more suitable or use a remover.
Very pink fingernails and sometimes blood red nails have been popular for some time with women in London. The latest idea, however, is to have fingernails to match dresses. At a recent function, a lady was observed in a Parma violet chiffon frock, and Parma violet fingernails to tone exactly. The idea is an off-shoot of the matching craze which is sweeping over London and Paris just now.
A well-known London beauty specialist is pushing the craze, and her clients arrive with samples of the frocks they will wear in the evening to have their nails “done!”. Mauve, violet, blues, greens, orange, yellows and reds are used. One girl wearing a pearl-colored satin frock had her fingertips enameled a lovely pearly tint, which looked really pretty. The enamel comes off quite easily with a special preparation used for the purpose so that there is no fear of one’s blue or green fingers clashing next morning with one’s favorite orange jumper suit.
Some nail polish firms used this idea as well. Cutex, for example, sold a clear nail polish in the 1920s that came with a separate tint which could be used to produce a polish with different degrees of color.
In the more somber depression years of the 1930s, bright colors went out of fashion to be replaced by subdued reds and smokey-reds.
Lately, the cult of the colored fingernail—gold, mother of pearl, blood red, or tinted to match the gown—marks us as to hand consciously. Pointed fingers with nails trained like pencil tips, and colored in unnatural tones, makes lovely hands look like the claws of some exotic bird and not the warm and human hands that have charmed lovers down the ages.
Transparent polish
With the exception of pearl and metallic types, most nail polishes used in the 1920s were transparent, either clear or colored with dissolved dyes. They were generally applied across the center of the nail, leaving the lunula (half moon) and free edge visible Having color only across the center of the nail plate was believed to make the fingers look long and elegant.
Opaque polish
By 1930, opaque (cream) nail polishes were becoming fashionable in Europe. Initially, these cream polishes were made by European companies or smaller American firms that had a presence there and only became more common in the United States after Revlon started up in 1932 and Cutex began selling them after 1934.
Revlon
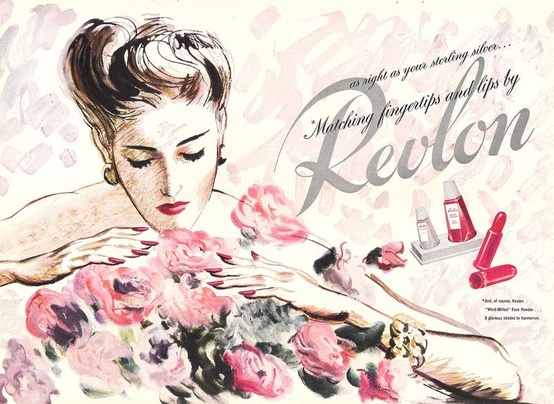
1932 When Revlon launched the first ever opaque nail enamel, it was referred to as cream enamel – the product was created using blended pigments, instead of dyes – this enabled a vast choice of colors. The nail enamels were only available in beauty salons to start with. 1937 The nail enamel was launched into department stores & pharmacies.
In 1939, when Revlon began to make lipsticks, they heavily promoted the notion that nail polish and lipstick should match, a fashionable French trend that had first appeared in the 1920s. Cutex had previously pushed this idea when it introduced its own line of lipsticks in in 1935.
Even earlier, two other American companies, Peggy Sage and Glazo, were producing nail polish shades to match lipsticks no later than 1930, even though neither firm made a lipstick at that date. Peggy Sage matched their nail polishes lipsticks from other companies in Peggy Sage salons and when Revlon became a much bigger threat in the late 1930s Peggy Sage entered into an agreement with seven cosmetic companies operating in the United States – Schiaparelli, Lelong, Lentheric, Charles of the Ritz, Du Barry, Dorothy Gray and Coty – to match Peggy Sage nail polishes with their lipsticks. This was a stop-gap solution with most of these lipstick manufacturers soon making their own nail polishes.
Modern nail polish
By 1930, there was a general agreement about the characteristics of an ideal liquid nail polish. It should be harmless, easy to apply, dry quickly and evenly, harden well, resist chipping and abrasion, be waterproof, have an even color that did not stain the nail, be stable in the bottle, and have a pleasant smell. Unfortunately, early nitrocellulose nail polish formulations did not share all these qualities. Their adhesion was poor if colored they often stained the nail, and they took a relatively long time to dry. Many early nail polishes did not even have a dedicated nail polish remover, being lifted by applying another layer of polish or by using acetone.
The use of nail enamel is now almost universal. It is a rapid means of acquiring a brilliant lustrous finish and may if desired, be applied without previously burnishing the nails. The only disadvantage it possesses is that of coming off in streaks after a few days. This is not very noticeable when a colorless enamel is applied, but if a tinted one has been used the effect is grotesque. Before applying the second coating of enamel, the remains of the first must be removed. This may be done by painting on the enamel itself and then rubbing off with a cloth, or better still, by using Acetone in the same way.
By the end of the 1930s, dedicated nail polish removers had been added to most manicure lines.
Components
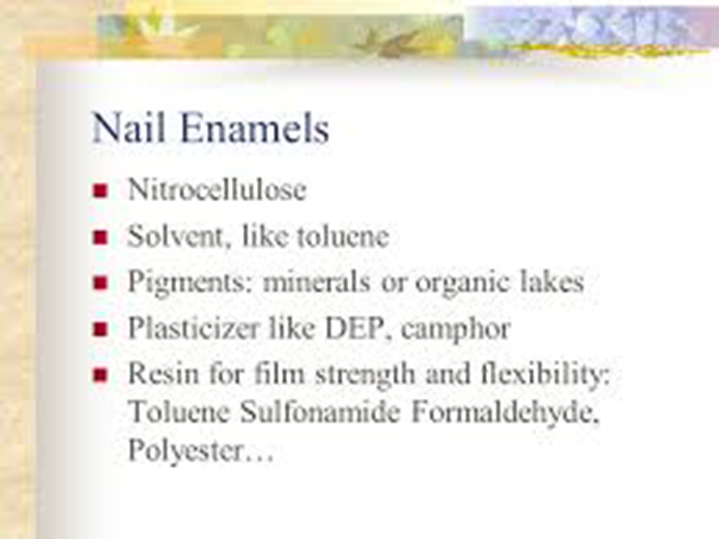
All modern nail polishes have four main components: a film former, solvents, resins and plasticisers. Coloured nail enamels also contain pigments and pearlescent materials and may also include suspension agents to help stabilize the suspended pigments. Other ingredients such as U.V. filters and proteins were added to more recent formulations.
Film former
The film-former is the glossy coat that is left on the surface of the nail after the solvents have evaporated. As previously noted, before the Second World War a range of substances was used to generate the film – including gum benzoin, shellac, and waxes – before nitrocellulose became the film-former of choice. Since then, other film-forming substances have been proposed as substitutes for nitrocellulose – one of the earliest being cellulose acetate, also used in ‘safety film’. Although there are nitrocellulose free nail polishes on the market today, nitrocellulose is still the commonest film-former used; it has a low solvent retention and dries quickly to form a waterproof, tough film.
Nitrocellulose is outstanding for its hardness, toughness, resistance to abrasion, and excellent solvent release. It is interesting to note that nitrocellulose is also the oldest man-made substance among the film-forming agents which dry solely by evaporation and without any subsequent oxidation or polymerization.
As noted earlier, nitrocellulose comes in a range of grades depending on how nitrate it is. This affects its volatility and solubility; highly nitrated nitrocellulose being more volatile and less soluble, lower nitrate forms being less volatile and more soluble.
The second characteristic of nitrocellulose that affects its use in nail polish is the length of the polymer chains that make it up. Shorter chains result in a more brittle film that has a lower viscosity, while longer chains make it softer and more viscous. Polishes that have a low viscosity will not adhere well to the brush and will not give a thick enough coat, while those that are very viscous will not flow easily and leave a coat that is too thick and streaky. Nitrocelluloses with medium length polymer chains are the types most commonly used in nail polishes, identified as E27 and E32 in Europe or ¼ and ½ RS grades in the United States.
Plasticisers
Nitrocellulose produces a tough transparent film but as it is also brittle, the polish will crack and flake if it is used alone. To make the polish more flexible, solid and liquid plasticisers are used. Liquid plasticisers, such as castor oil, produce a soft flexible polish, while solid plasticisers, such as camphor, generate a harder film. To get the best of both worlds both types were used. Camphor and castor oil were two of the commonest plasticisers used in early nail polishes. Castor oil is no longer used and although camphor is still found occasionally in some polishes, both of these early plasticisers have been largely replaced by better substitutes.
Resins
Resins are added to nail polish to help it adhere to the nail plate so that chipping or peeling are reduced. They can also make the polish tougher and improve gloss. Two main forms are used: natural resins – like benzoin, de-waxed dammar, mastic sandarac, shellac and benzoin – and synthetic forms.
Until the 1930s, most of the resins used were natural and they suffered from a number of drawbacks. Some, like benzoin, darkened when exposed to light and most required some burnishing of the nail plate after the polish had dried to bring out the full gloss. Being natural products there was also the issues of batch uniformity and rising costs.
In 1938, the synthetic resin, toluene-sulphonamide-formaldehyde (TSFR or TSAfr), was introduced into nail polishes and gained wide use. As well as being colorless and transparent it made the nitrocellulose film tougher and improved its adhesion. Unfortunately, in 1943, TSFR was identified as a common cause of allergic contact dermatitis. Symptoms could appear around the nail but a common site of an allergic reaction was the eyelids, due to users rubbing their fingers against their eyes when their eyes were ‘tired’.
TSFR is still found in nail polishes today, generally listed either as tosylamide/formaldehyde resin or toluene sulfonamide/ formaldehyde resin, but some manufacturers avoid it. Some go even further and along with camphor and dibutyl phthalate (DBP) – an early plasticiser banned by the European Union in 1976 – sometimes specifically list TSFR as being absent.
Solvents
There are a large number of solvents that can be used for nitrocellulose-based nail polish. Selecting which to use and in what proportion depends on a number of factors including drying time, cost and odor. It might be thought that fast drying solvents would be ideal but this is not necessarily the case. If the nail polish dries too quickly the film may be streaky and the rapid evaporation can cool the polish below the dew-point causing clouding (blushing), particularly on humid days when the water content of the air is high. Best results are therefore obtained by including a range of solvents, some of which have a slower rate of evaporation.
Color
As mentioned previously, until the 1930s nail polishes were largely colored with soluble dyes like carmoisine, safranine, erythrosine, and phloxine. These were easy to incorporate into nail polish, the only major problem being that they often stained the nail.
The first nail polishes that included suspended particles first appeared in the 1920s. These were the pearl polishes – made with fish essence from fish scales – and metallic polishes – that used bronze, silver or gold metallic pigments. The use of other suspended pigments such as titanium dioxide and iron oxides occurred in the late 1920s when opaque cream polishes were developed. In the United States, these became more common a few years before the 1938 Food, Drug, and Cosmetic Act (FDCA) and the introduction by the American Food and Drug Authority (FDA) of an approved list of colors that could be used in cosmetics. By this time, the fashion for matching nail polish and lipstick had taken hold in the United States and similar pigments began to be used in both lines.
The early pearl and metallic polishes experienced a degree of sedimentation – settling out of the solid particles – but the problem became acute when cream polishes replace transparent forms. The issue was made more difficult by the fact that that sedimentation occurred at different rates for different particles. For example, pearl essence made from fish scales settled more slowly that made from bismuth oxychloride.
Of particular concern was titanium dioxide. Being white and heavier than the iron oxides it settled first, and once settled it was difficult to get it to back into the mixture. A number of solutions to the problem were tried over the years: some early polishes included a stirring stick to mix the polish before use; the iron oxides were deliberately coarse ground so that they would settle with the titanium dioxide to produce a residue that was reddish rather than stark white; the titanium dioxide was dyed so that when it settled it was not as noticeable; new ingredients were added to try to reduce the problem; bottles were designed to hide any sediment that might appear; and instructions were added that suggested shaking the bottle vigorously before use.
The ultimate solution to the problem was to develop a nail polish that was highly thixotropic, that is, one that was thick and viscous when still, but thin and less viscous when applied. A number of compounds were tried over the years but synthetic bentonite and hectorite clays proved to be the most effective and, although not without their problems, many nail polishes contain stearalkonium hectorite or stearalkonium bentonite to this day.
Base coats and top coats
One way to achieve good adherence, reduce staining and improve hardness, color and gloss were to use a base coat before applying the polish and then follow that with a top coat. The three products contained similar ingredients but differed in the amounts used. The base coat had more resin to help it adhere to the nail and reduce chipping, while the top coat contained less resin but more plasticiser and nitrocellulose to improve gloss and resistance to wear. In between these two, a layer of color was applied although top coats often contained color as well.
The first base coat (undercoat or foundation coat) appears to have been developed by Perma-Nail in New York in 1946. It was quickly followed by others including Everon (Revlon, 1946), Fulpruf Undercoat (Elizabeth Arden, 1947) and many others. I make note of this product mainly because they were the cause of numerous reports of allergic contact dermatitis. Subsequent products of this type showed similar problems.
Base coats and top coats formed a part of many professional manicures well up to the end of the twentieth century but for the average consumer they were too much trouble and in the 1950s many manufacturers made the point that their polishes did not require either, Charles of the Ritz being one of the first to do so with their Fresh Paint polishes.
Bottles
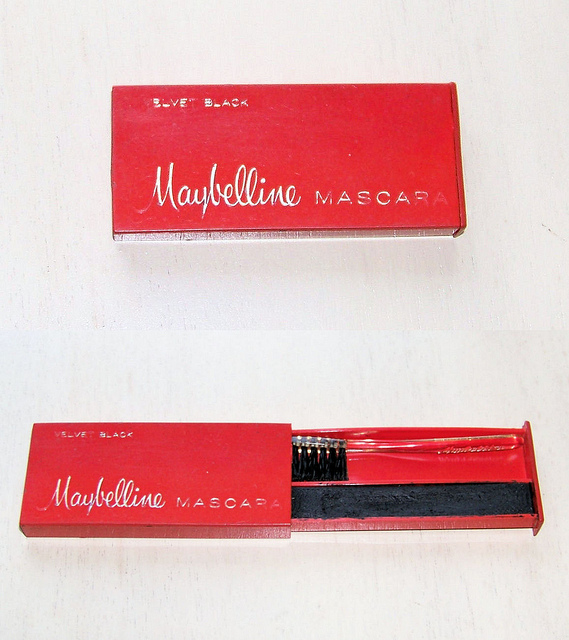
No discussion of nail polish can be complete without a mentioning their bottles. Nail polish is now sold in bottles capped with a screw top lid – to help reduce solvent evaporation – with a brush attached to the cap. However, early nail polishes came with a brush that was not integrated with the bottle but was included in the box as a separate item.
With the introduction of titanium dioxide and iron oxide pigments in the 1930s, triangular shaped bottles became more common for a number of reasons: they ensured that pigments settled on the bottom of the bottle, rather than on the sides of the glass containers; the shape also minimized any signs of floating artifacts or streaks that might appear at the top of the polish; and it also gave the bottle a low center of gravity that helped prevent it from tipping over and spilling.
The introduction of thixotrophic nail polishes made the use of triangular bottles to disguise artifacts largely redundant and enabled nail polish manufacturers to experiment with the wide variety of bottle shapes we see today.
Moon Manicure
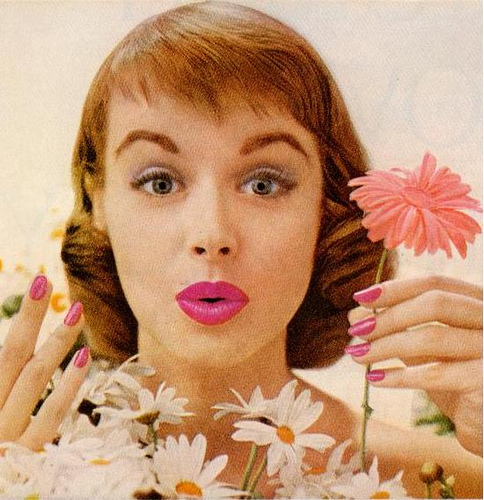
The first modern manicure was known as the “moon manicure”. To achieve this look the cuticles were cut, free edges filed into points, and polish was applied to the nail but not to the moon and tip. Covering the entire nail with lacquer was considered extreme and improper. Red was considered the most ladylike color, but pale pink, nude, white and peach were also popular. It was considered important to choose a lacquer that would complement your outfit as well as match your lipstick.
In the 1940s and 1950s, the half moon style was still popular and there were dozens of colors introduced, including green, yellow, blue, mauve, and black. Matching nails with your clothes was still in vogue.
1960s
The fashions of the 1960s were far more relaxed than in previous decades. Instead of the half moon manicure, it was customary to paint the entire nail. Colors were less vibrant, including coral, purple and frosty blue hues.
1970s
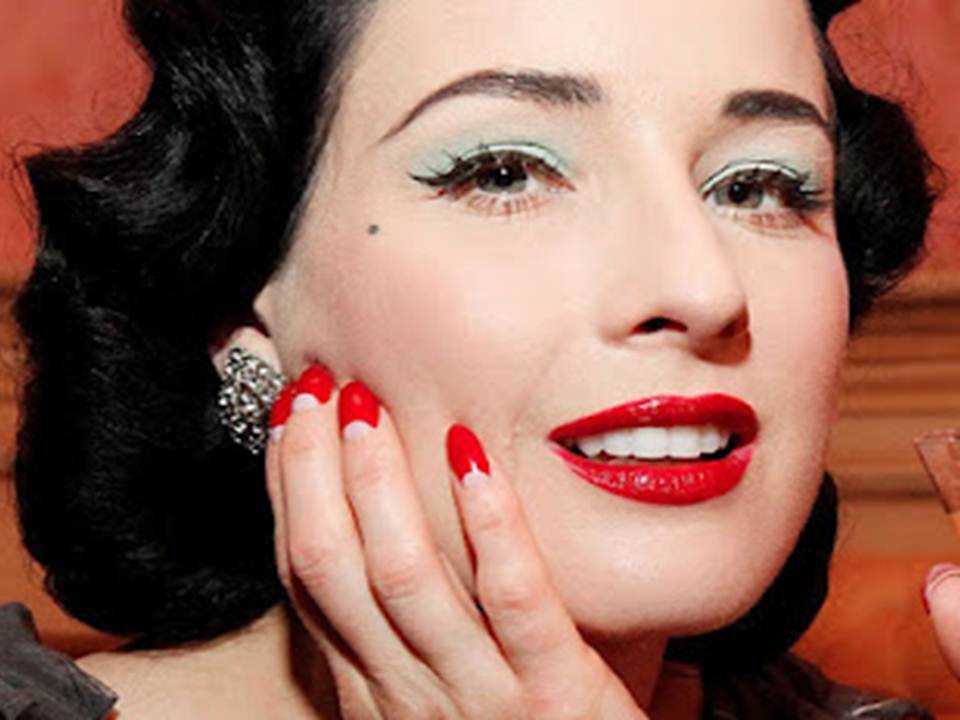
Eventually, colors evolved to the full spectrum, such as various reds, oranges, and eventually the French manicure style polish, says Pattie. “The shape changed from almond-shaped to square nails around the mid-70s through to the 90s, and French manicures became extremely fashionable.”
1980s
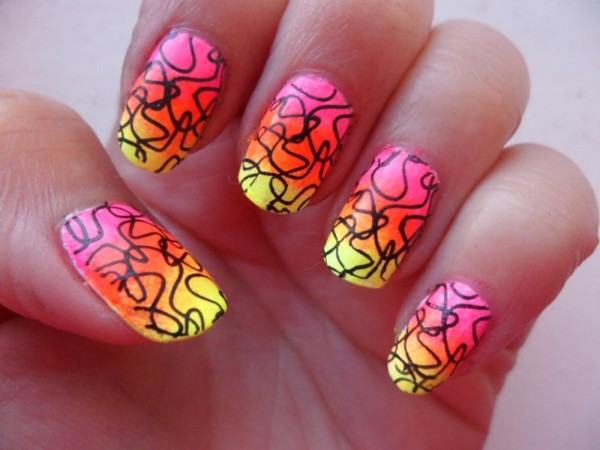
In the 80s creativity abounded and women went wild with nail art. This included multiple polish color applications to one nail, airbrushing, hand painting, embellishments, feathers, foil art, bright shades of pink, neon hues, real gold nails, and nail charms, Just about anything has experimented with to create designs. Longer lengths were in and a square shape. Various products were introduced to enhance the nails and their length, to include gels, tips, ‘organic’ nail powders and advanced types of acrylic blends.
1990s
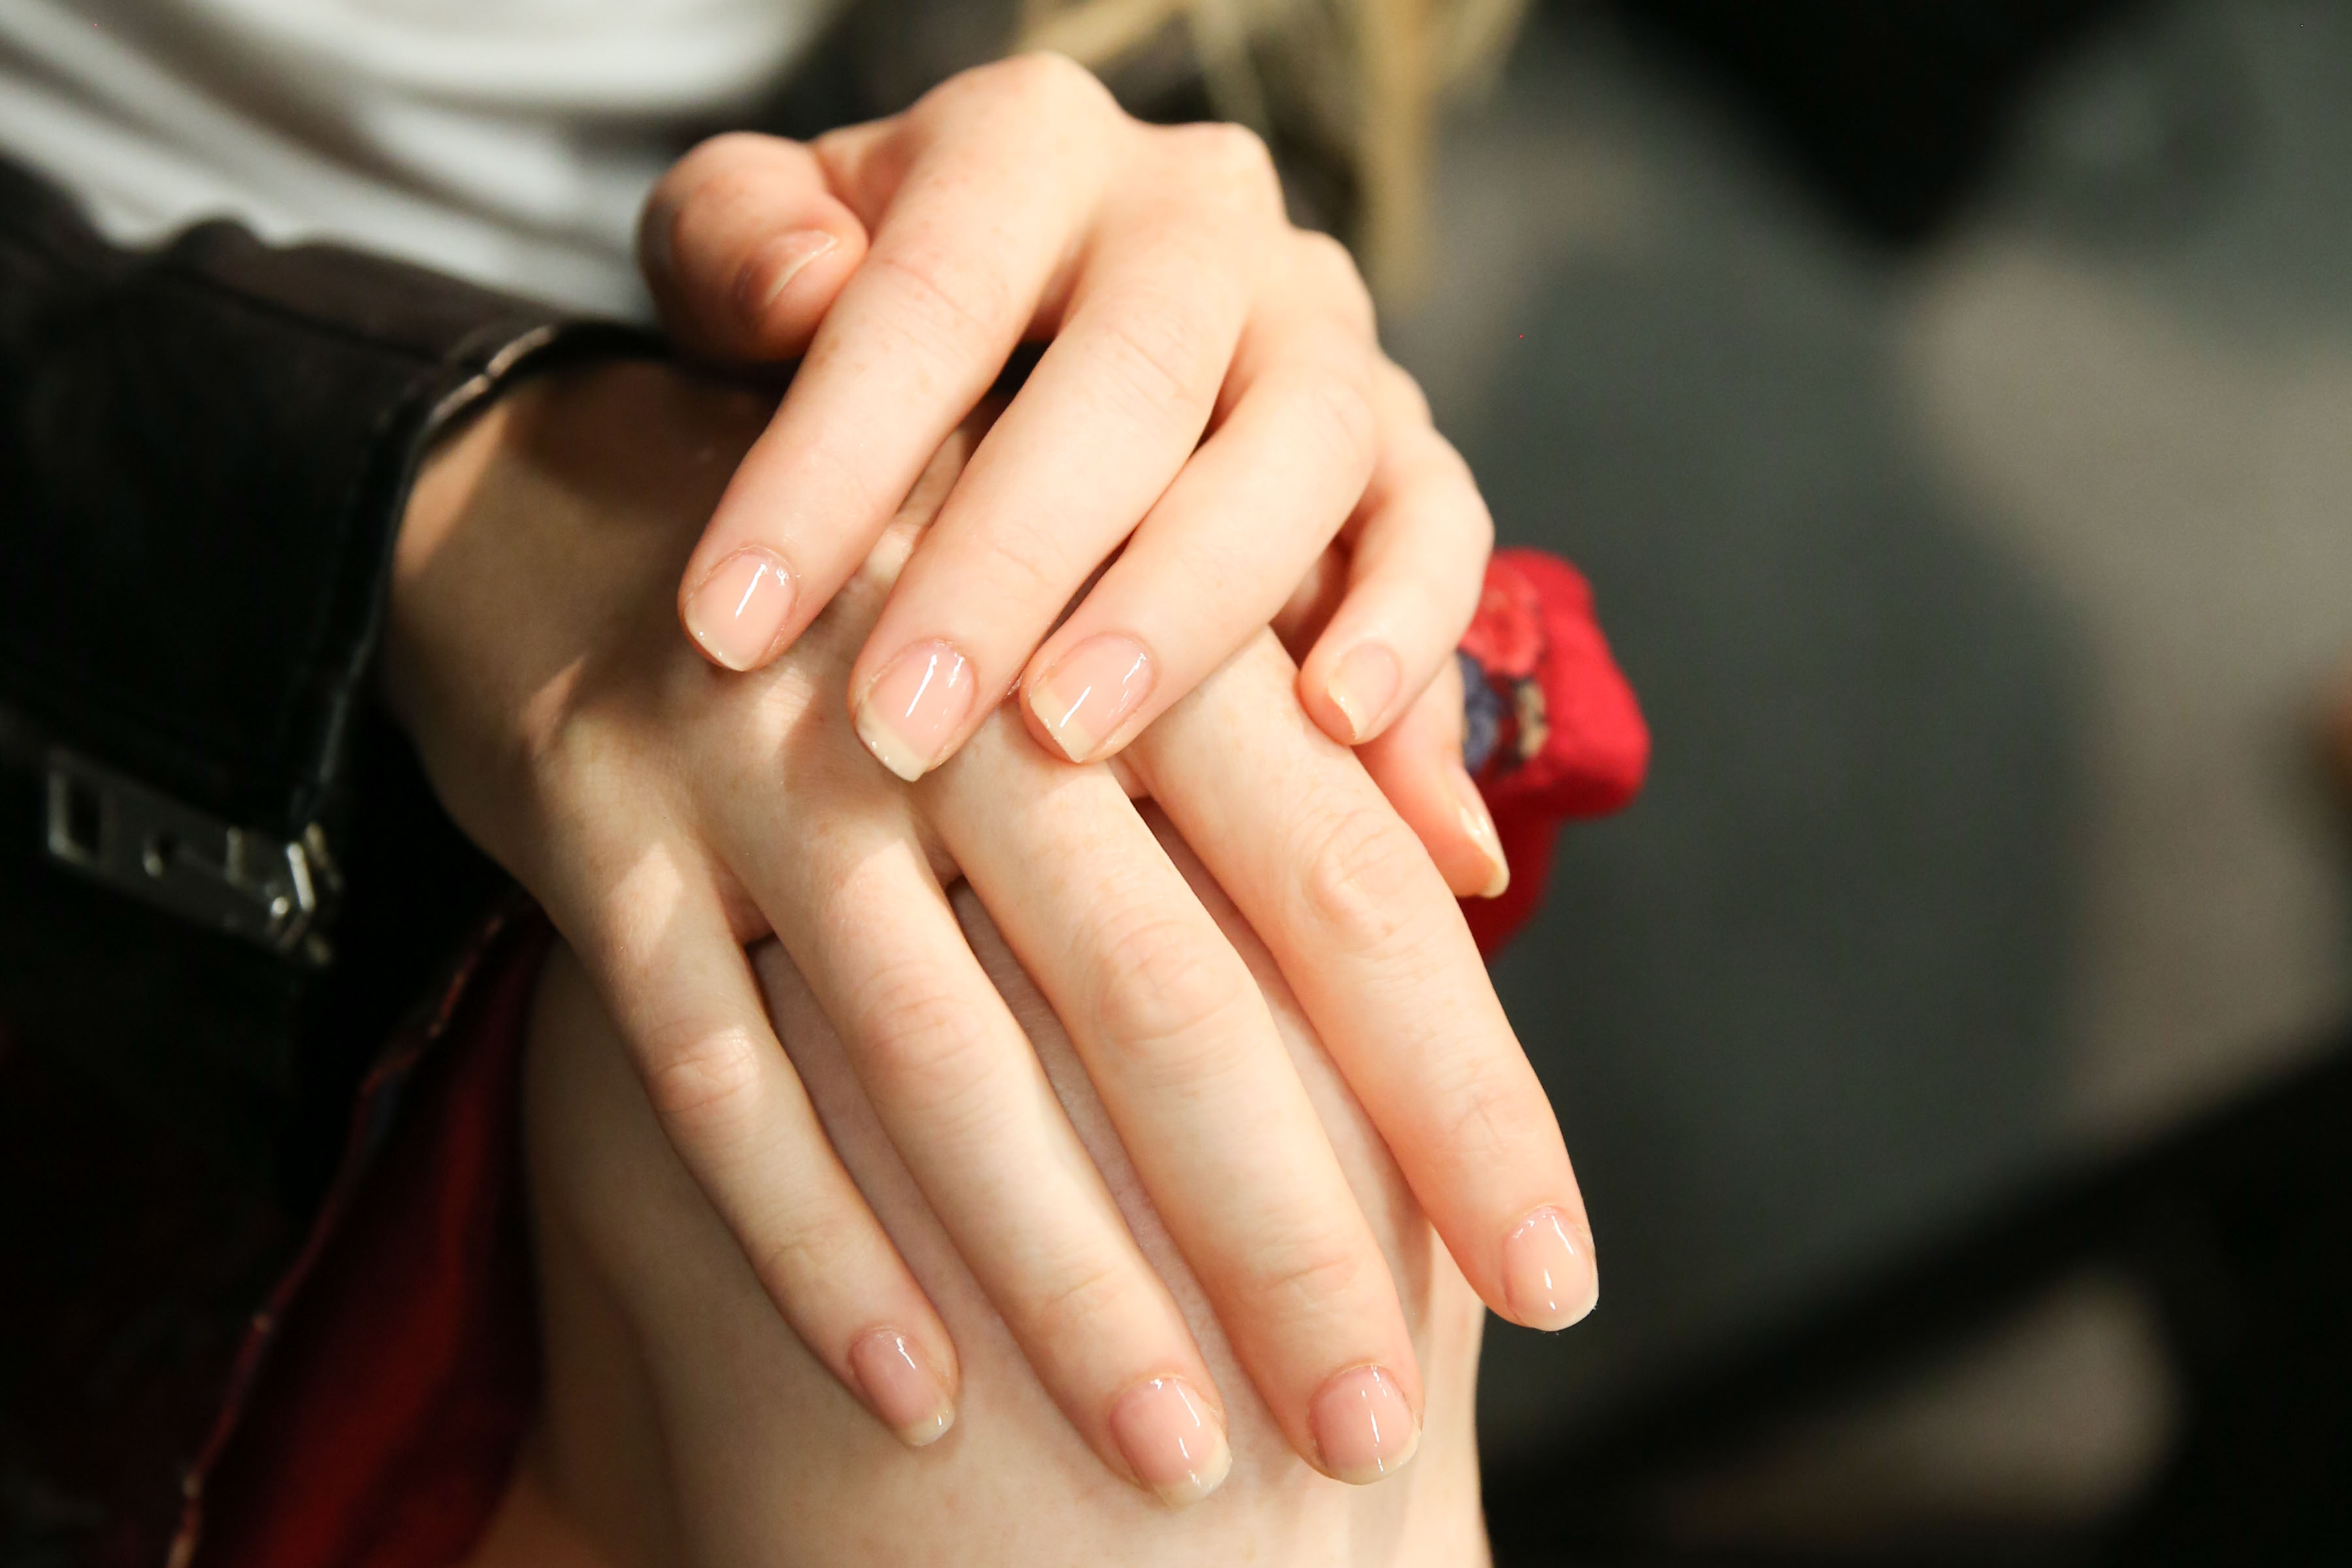
After the run of nail art, consumers became more aware of their nail ‘health’ and products advanced in this direction. “Late 90s to early 2000, natural nails became popular again.” Black also had its heyday with the grunge crowd.
2000s

Into the 2000s, nail polish colors evolved to every and all shade. Various gel products and gel polishes were introduced, 3-D nail art, glitter, and Japanese style art are now seen on all types and classes of women. The shape has also gone back to the original almond shape and even to a more dramatic stiletto shaped nail.
Now
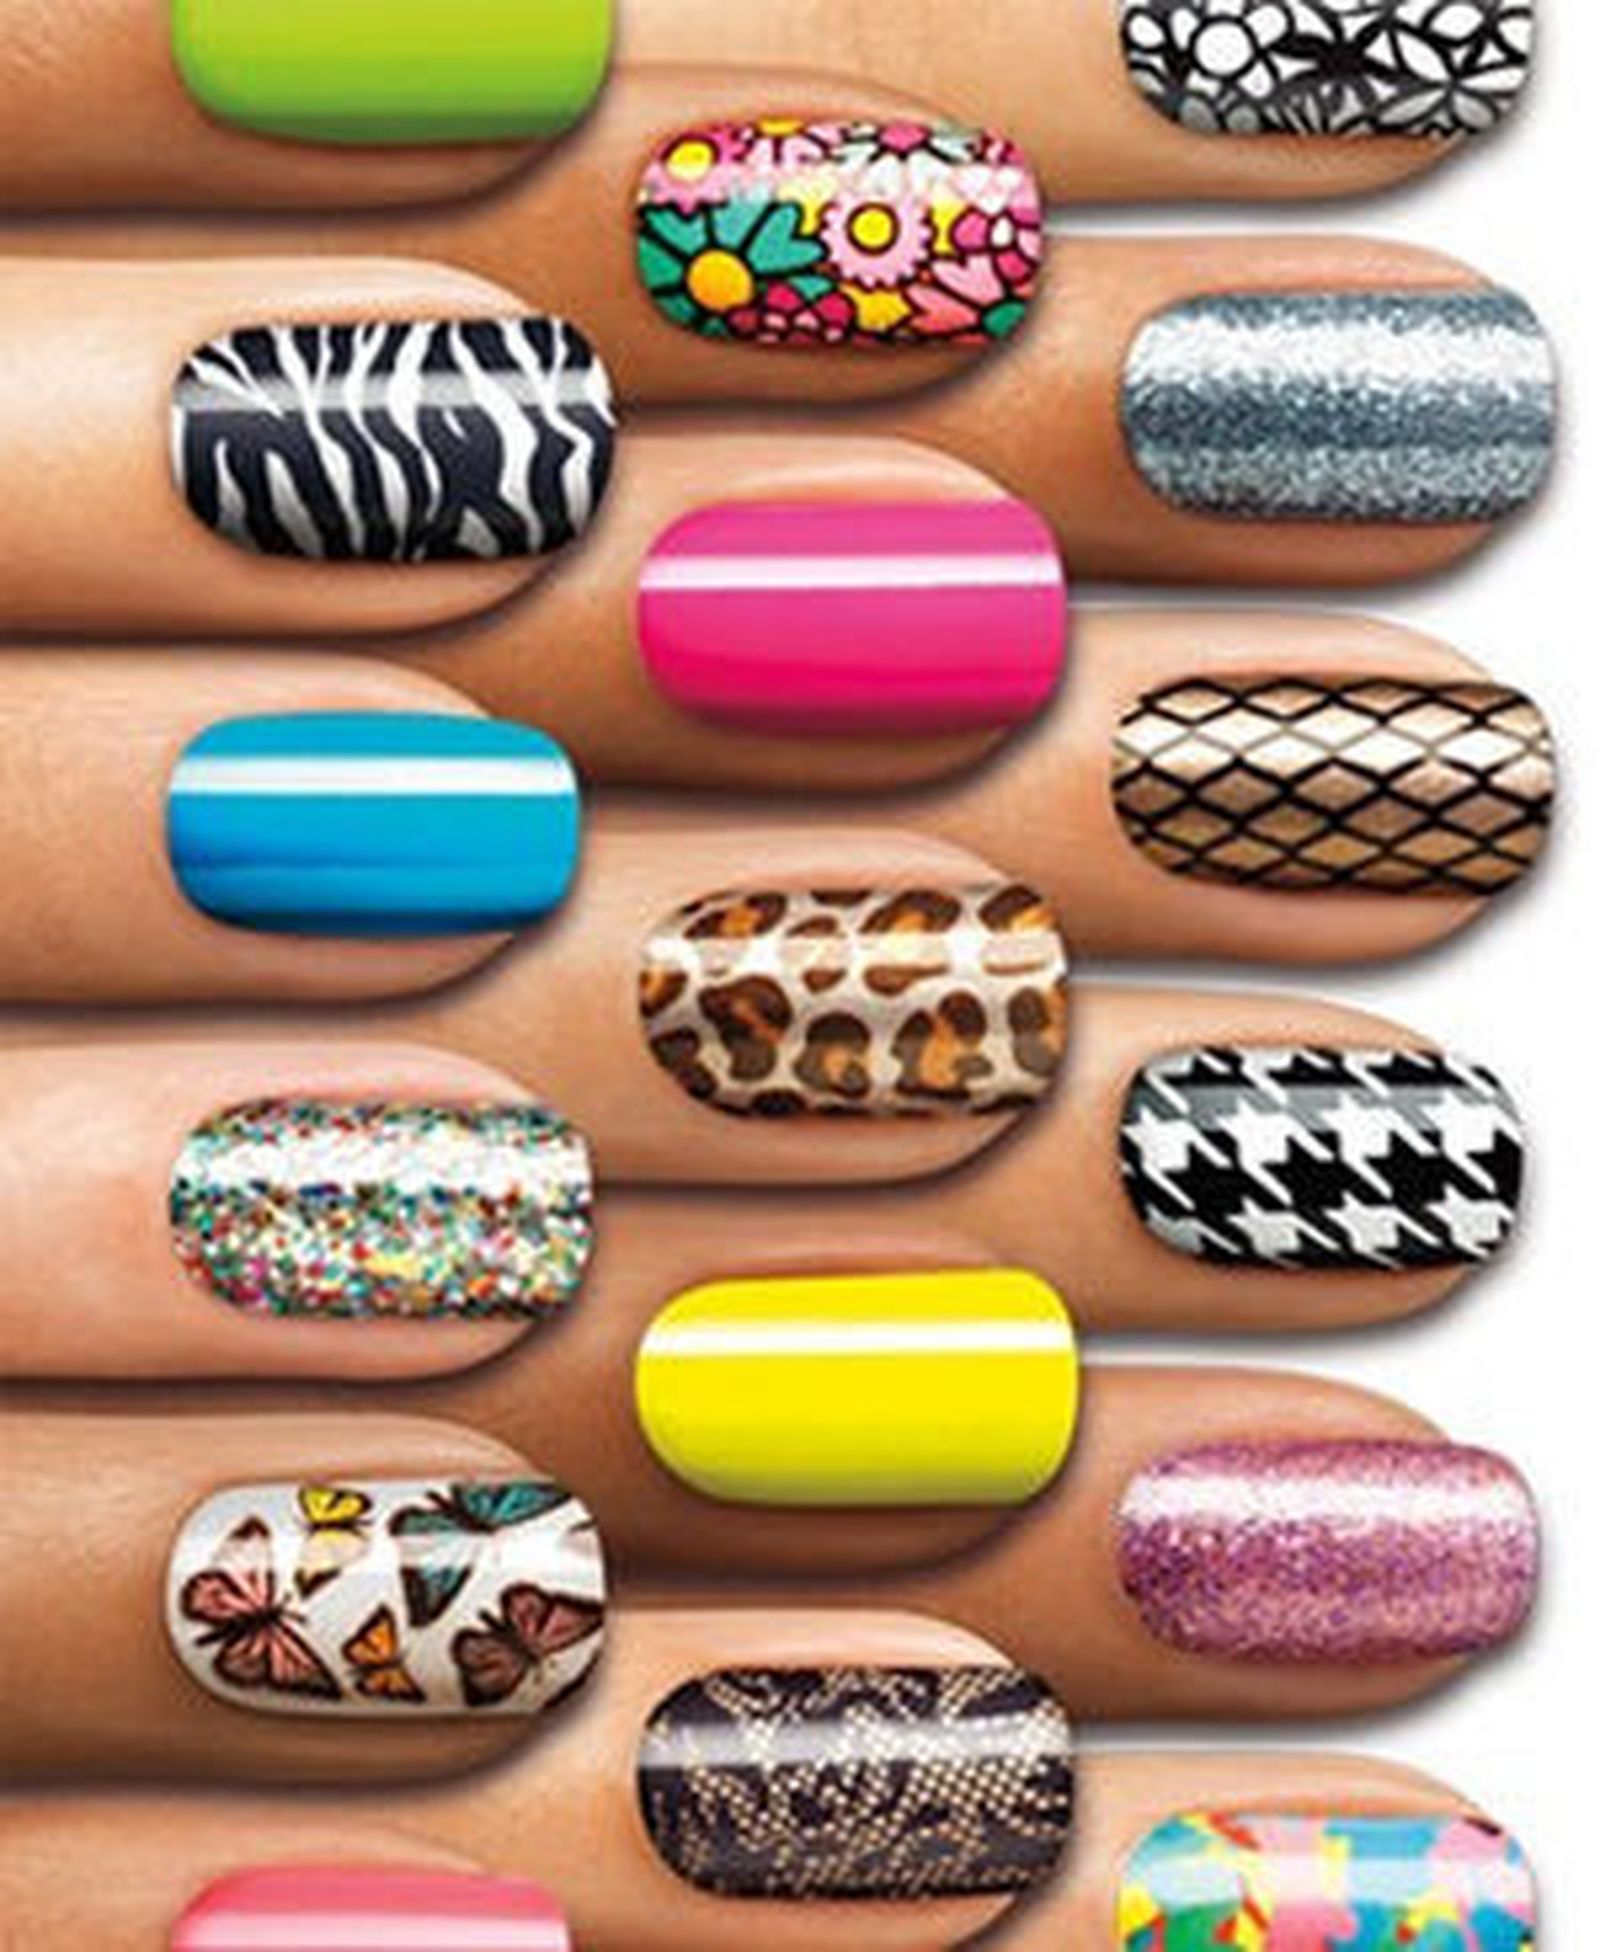
Recently, the evolution of nail appliqués has become the biggest trend, The first appliqués were introduced by the Minx brand in 2007, and now Dashing Diva is the innovator in the field, offering appliqués with embellishments to make producing the popular 3-D art styles a breeze for anyone. Gel polishes are also trendy, although removal is difficult.
Modern nail polish
from: http://www.encyclopedia.com/topic/Nail_polishes.aspx
Modern nail polish is sold in liquid form in small bottles and is applied with a tiny brush. Within a few minutes after application, the substance hardens and forms a shiny coating on the fingernail that is both water- and chip-resistant. Generally, a coating of nail polish may last several days before it begins to chip and fall off. Nail polish can also be removed manually by applying nail polish “remover,” a substance designed to break down and dissolve the polish.
Raw Materials
There is no single formula for nail polish. There are, however, a number of ingredient types that are used. These basic components include film forming agents, resins and plasticizers, solvents, and coloring agents. The exact formulation of a nail polish, apart from being a corporate secret, greatly depends on choices made by chemists and chemical engineers in the research and development phase of manufacturing. Additionally, as chemicals and other ingredients become accepted or discredited for some uses, adjustments are made. For example, formaldehyde was once frequently used in polish production, but now it is rarely used.
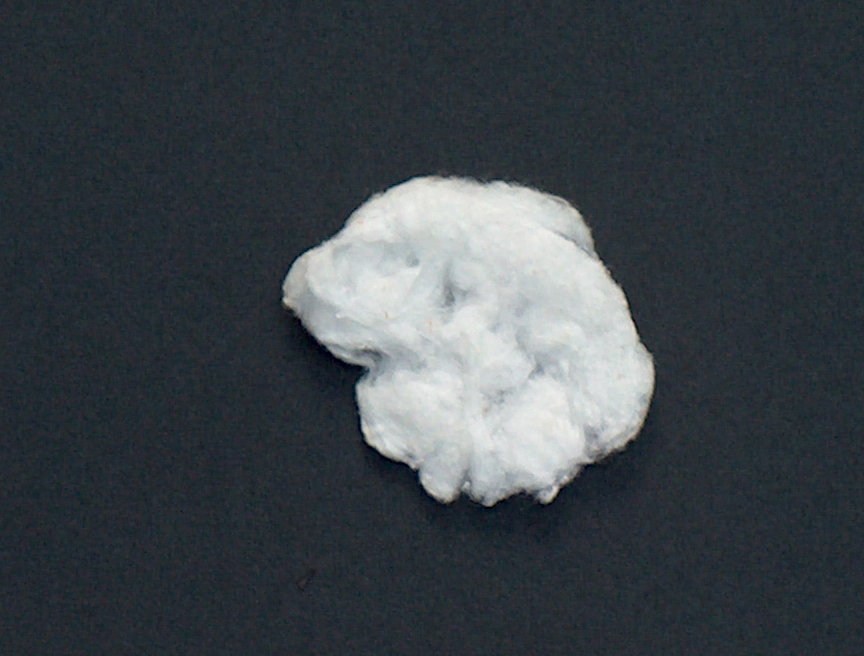
The primary ingredient in nail polish is nitrocellulose (cellulose nitrate) cotton, a flammable and explosive ingredient also used in making dynamite. Nitrocellulose is a liquid mixed with tiny, near-microscopic cotton fibers. In the manufacturing process, the cotton fibers are ground even smaller and do not need to be removed. The nitrocellulose can be purchased in various viscosities to match the desired viscosity of the final product.
Nitrocellulose acts as a film forming agent. For nail polish to work properly, a hard film must form on the exposed surface of the nail, but it cannot form so quickly that it prevents the material underneath from drying. (Consider commercial puddings or gelatin products that dry or film on an exposed surface and protect the moist product underneath.) By itself or used with other functional ingredients, the nitrocellulose film is brittle and adheres poorly to nails.
Manufacturers add synthetic resins and plasticizers (and occasionally similar, natural products) to their mixes to improve flexibility, resistance to soap and water, and other qualities; older recipes sometimes even used nylon for this purpose. Because of the number of desired qualities involved, however, there is no single resin or combination of resins that meets every specification. Among the resins and plasticizers in use today are castor oil, amyl and butyl stearate, and mixes of glycerol, fatty acids, and acetic acids.
The colorings and other components of nail polish must be contained within one or more solvents that hold the colorings and other materials until the polish is applied. After application, the solvent must be able to evaporate. In many cases, the solvent also acts a plasticizer. Butyl stearate and acetate compounds are perhaps the most common.
Finally, the polish must have a color. Early polishes used soluble dyes, but today’s product contains pigments of one type or another. Choice of pigment and its ability to mix well with the solvent and other ingredients is essential to producing a good quality product.
Nail polish is a “suspension” product, in which particles of color can only be held by the solvent for a relatively short period of time, rarely more than two or three years. Shaking a bottle of nail polish before use helps to restore settled particles to the suspension; a very old bottle of nail polish may have so much settled pigment that it can never be restored to the solvent. The problem of settling is perhaps the most difficult to be addressed in the manufacturing process.
In addition to usual coloring pigments, other., color tones can be added depending on the color, tone, and hue of the desired product. Micas (tiny reflective minerals), also used in lipsticks, are a common additive, as is “pearl” or “fish scale” essence. “Pearl” or “guanine” is literally made from small fish scales and skin, suitably cleaned, and mixed with solvents such as castor oil and butyl acetate. The guanine can also be mixed with gold, silver, and bronze tones.
Pigment choices are restricted by the federal Food and Drug Administration (FDA), which maintains lists of pigments considered acceptable and others that are dangerous and cannot be used. Manufacturing plants are inspected regularly, and manufacturers must be able to prove they are using only FDA approved pigments. Since the FDA lists of acceptable and unacceptable pigments change with new findings and reexaminations of colors, manufacturers occasionally have to reformulate a polish formula.
Today’s Manufacturing Process
The modern manufacturing process is a very sophisticated operation utilizing highly skilled workers, advanced machinery, and even robotics. Today’s consumers expect a nail polish to apply smoothly, evenly, and easily; to set relatively quickly, and to be resistant to chipping and peeling. In addition, the polish should be dermatologically innocuous.
Mixing the pigment with nitrocellulose and plasticizer
1 The pigments are mixed with nitrocellulose and plasticizer using a “two-roll” differential speed mill. This mill grinds the pigment between a pair of rollers that are able to work with increasing speed as the pigment is ground down. The goal is to produce a fine dispersion of the color. A variation of this mill is the Banbury Mixer (used also in the production of rubber for rubber bands).
2 When properly and fully milled, the mixture is removed from the mill in sheet form and then broken up into small chips for mixing with the solvent. The mixing is performed in stainless steel kettles that can hold anywhere from 5 to 2,000 gallons. Stainless steel must be used because the nitrocellulose is extremely reactive in the presence of iron. The kettles are jacketed so that the mixture can be cooled by circulating cold water or another liquid around the outside of the kettle. The temperature of the kettle and the rate of cooling are controlled by both computers and technicians.
This step is performed in a special room or area designed to control the hazards of fire and explosion. Most modern factories perform this step in an area with walls that will close in if an alarm sounds and, in the event of an explosion, with ceilings that will safely blow off without endangering the rest of the structure.
Adding other ingredients
3 Materials are mixed in computerized, closed kettles. At the end of the process, the mix is cooled slightly before the addition of such other materials as perfumes and moisturizers.
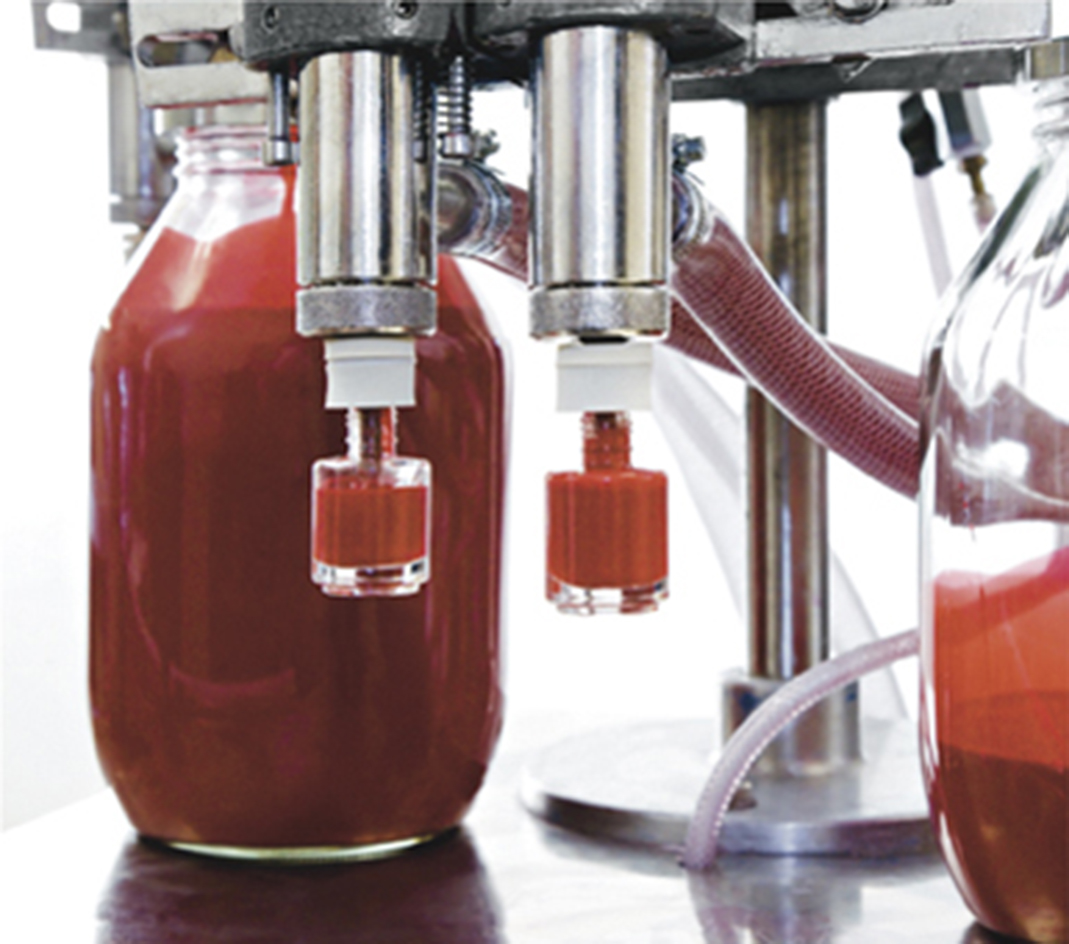
4 The mixture is then pumped into smaller, 55-gallon drums, and then trucked to a production line. The finished nail polish is pumped into explosion proof pumps, and then into smaller bottles suitable for the retail market.
Quality Control
Extreme attention to quality control is essential throughout the manufacturing process. Not only does quality control increase safety in the process, but it is the only way that a manufacturer can be assured of consumer confidence and loyalty. A single bottle of poor quality polish can lose a customer forever. Regardless of quality control, however, no single nail polish is perfect; the polish always represents a chemical compromise between what is desired and what the manufacturer is able to produce.
The nail polish is tested throughout the manufacturing process for several important factors (drying time, smoothness of flow, gloss, hardness, color, abrasion resistance, etc.). Subjective testing, where the mixture or final product is examined or applied, is ongoing. Objective, laboratory testing of samples, though more time consuming, is also necessary to ensure a usable product. Laboratory tests are both complicated and unforgiving, but no manufacturer would do without them.
DIY Nail Polish
from: http://www.girlishh.com/how-to-make-natural-fingernail-polish/
Recipe 1
Mix a tablespoon of Olive Oil, cold and pressed, with half a tablespoon of Kaolin Clay Powder, or White Clay and make them into a paste. Olive Oil helps moisturize cuticles and nails, while clay will bring shine to the nails.
Add henna dye to the nail polish to get a color. Henna comes in different colors and can give a natural shade to your nail polish. Make a paste from Olive Oil and henna that is smooth.
Use an old brush or cotton swab for applying polish on nails evenly. Keep it on for fifteen minutes. If you are going to use henna for tinting nails, wipe out leftovers on the skin and air dry the nails.
If you are coloring your nails with henna, moisturize them often. A cotton swab immersed in warm water is enough to dab on the surface. You should leave the polish on for a minimum of one hour.
When the paste dries off, use a damp cloth to wipe away the nails. Gently rub to buff your nails. To get natural gloss, you should repeatedly apply this.


Recipe 2
Gather 3 tbsp Olive Oil, 2 tsp Alkanet Root, 1/4 tsp Beeswax, and two drops of Vitamin-E Oil. Heat the Olive Oil and Alkanet Root. When they are warm, remove from heat and allow them to set.
Use a good mesh strainer to strain the blend and separate Alkanet. Strained oil should once again be put into the boiler. Add beeswax to the oil and let it melt. After this, you can mix in the Vitamin E Oil. Mix and remove. With an old brush, apply the nail polish evenly on the nails. Do not smear it on the skin that surrounds it.


Recipe 3
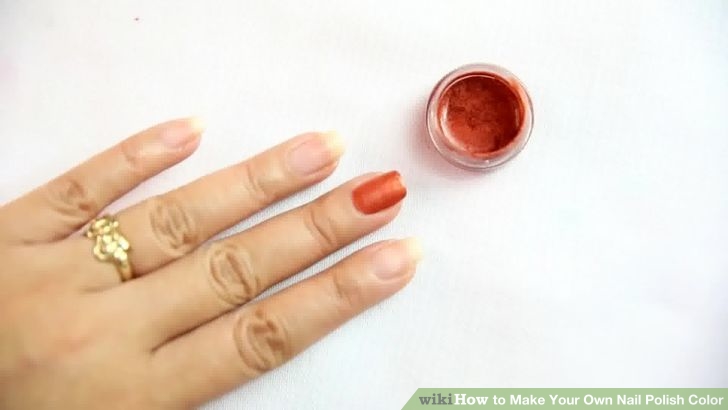
Henna has been growing in popularity as a natural dye. It has been widely used in the East for many centuries. It is found to be very safe while giving an attractive color to your nails. It is easy to make a natural nail polish from henna.
Firstly, mix water and red henna in a small container. Stir the mixture until a fine paste form. Henna is made from herbal leaves that are dried before being ground to fine powder. You can purchase red henna from most of the local health food shops or online.

Next, paint the henna carefully on your nails; fingers or toes. Use a clean and small paint brush; paint slowly so that no henna will get onto your skin. When you are done, let your nails dry naturally.
Once the henna polish is dry, wash your hands. As the henna polish is really a stain, there is no worry of chipping or smearing like the commercially prepared nail polish. Henna polish will stay permanently on your nails as you have applied it until your nails grow out. Do not keep the remainder of the henna polish. Make a fresh paste each time you want to polish your nails again.
https://youtu.be/maHStEQ9_dM
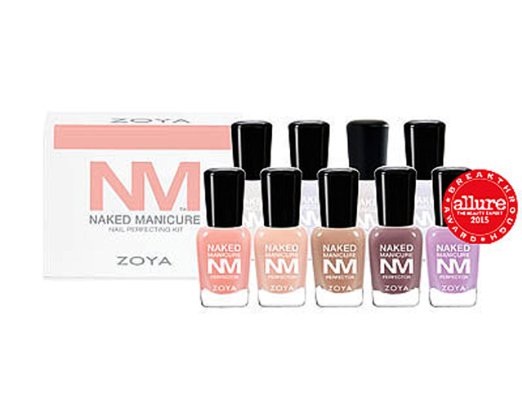
Zoya Naked Manicure Mini Professional Kit
The ultimate custom color blending kit for any Naked Manicure lover including 0.25oz bottles of all six perfectors (Pink, Buff, Nude, Mauve, Lavender and White Tip), plus Naked Base, Satin Seal Topcoat, and Glossy Seal Topcoat. Perfect for travel or for gifting!
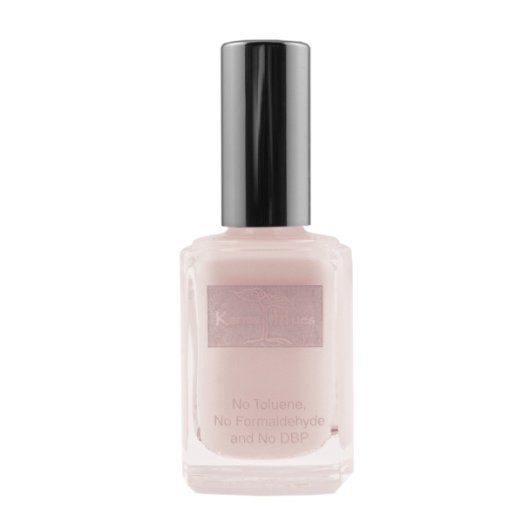
Heavenly Haze – Nail Polish; Non-Toxic, Vegan, and Cruelty-Free
Karma Organic Nail Polishes are 7 free contain no toluene, formaldehyde, DBP (phthalate), camphor, formaldehyde resin, n0 xylene, and parabens. are safe for pregnant women, kids, cancer patients, and allergy sufferers. Chip resistant, durable, and with no harsh odors, they are available in glossy, matte and glow-in-the-dark shades. The non-yellowing formula is cruelty-free (not tested on animals). Packaging is 100% recyclable. This nail strengthener contains calcium and coffee extract to help strengthen natural nails without the use of Formaldehyde. Weak, thin, splitting nails or peeling nails will benefit from the use of this product which is free of Toluene and DBP, as well as Formaldehyde.
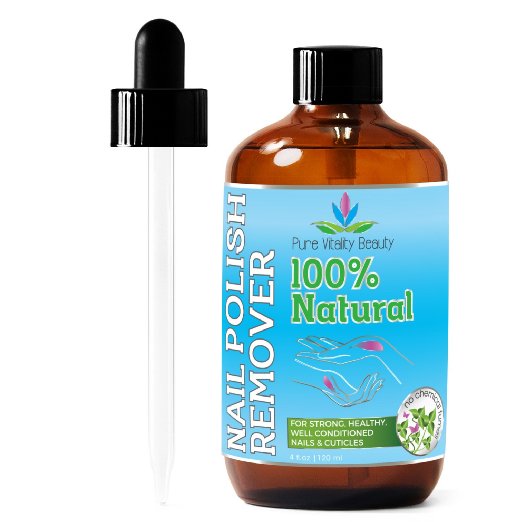
Nail Polish Remover – 100% NATURAL & Plant Based – USDA BioCertified – NonAcetone – Also Acts As Conditioner & Strengthener For Nails & Cuticles
- UNLIKE MOST OTHER ACETONE FREE REMOVERS Pure Vitality Beauty nail polish remover is also free from Acetate, Ethyl Lactate & Petroleum Chemicals – all of which are harmful with repeated or prolonged exposure.
- HIGH PERFORMING WITHOUT DRYING OUT YOUR NAILS – Will strengthen & moisturize your nails, unlike traditional nail polish removers which leave you with weak, brittle fingernails and toenails. Even removes stubborn UV gel nail polish!
- ALL INGREDIENTS RATED 0 OR 1 IN THE COSMETIC SAFETY REVIEW by the Environmental. Working Group’s Skin Deep database. Pure Vitality Beauty nail polish remover is nonhazardous, non-toxic, non-carcinogenic and pregnancy safe.
- ECO-FRIENDLY – biodegrades quickly and fully. No chemical fumes to pollute the air. Cruelty-Free.
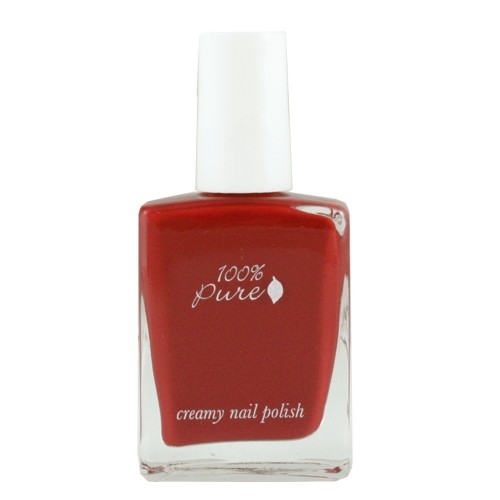
100% Pure Creamy Nail Polish – Pepper
Apply 100% Pure Horsetail Base Coat first for strong, healthy nails with a smoother surface. Apply one coat of nail polish color. After the first coat dries, apply a second coat. Finish with 100% Pure Glass Top Coat for a chip-free high gloss finish.

UGG Marciela
The Bailey Button is all grown up. Meet the UGG® Marciela boot, all the comfort in a smartly accented package.
Twin faced sheepskin uppers with heel guards for added structure.
Boot cuff can be worn up or folded over depending on style preference.
Leather tab and metal button detail.
Fully lined in luxurious, UGGpure™ wool. It’s a luxurious, natural wool woven into a durable backing that enhances the overall product experience. UGGpure delivers a plush sensory experience with every wear.
Generously cushioned footbed is lined in UGGpure™ wool for breathability and warmth.