Beauty Tips for Highlight and Contour
Highlight
Is the opposite of contour. Highlighting is the process of enhancing; visually enlarging, drawing attention to a specific area, a feature highlight shade is usually a lighter shade.
Contour
Contour is the opposite of Highlight.
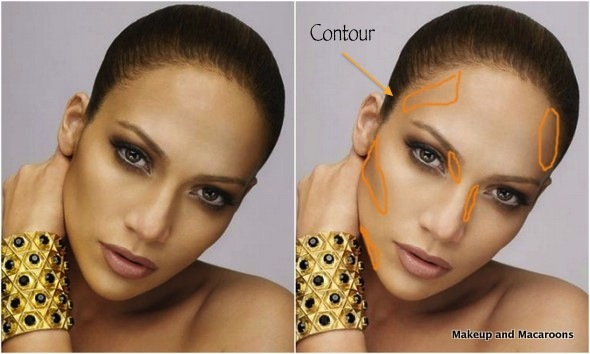
Everything that we contour we push away from the eye to make it appear less visible, in other words to minimize or give the illusion that is smaller.
A contour shade is usually a darker shade that give your features more depth and definition by contrasting against the lighter shades used on your Skin.
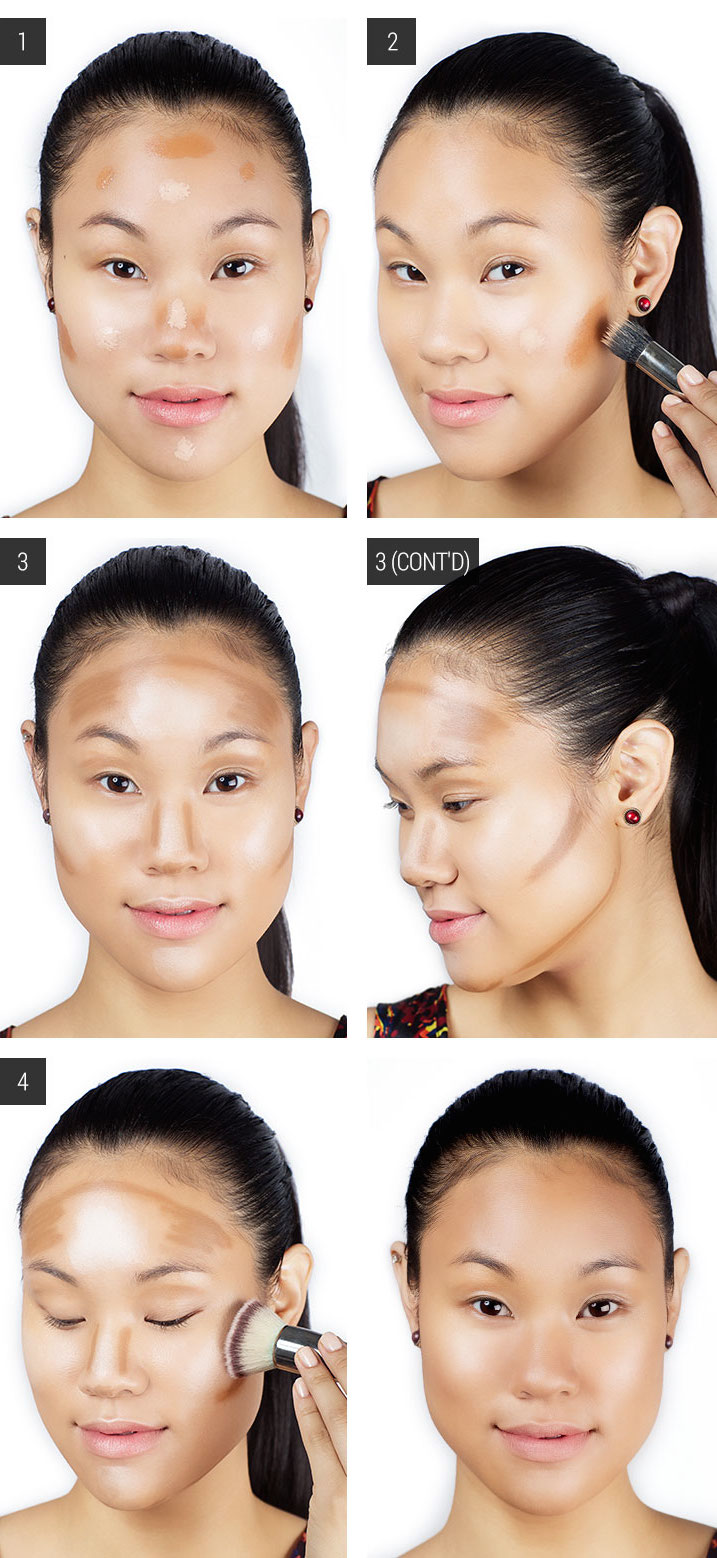
1. Prep your face with two shades of base. “Dot on a foundation that’s one shade lighter than your skin tone in the center of your face, and another that’s one shade darker than your complexion around the perimeter,” . Our model Jess used IT Cosmetics Bye-Bye Under Eye Concealer in “Natural Medium” (as the light base) and “Deep” (as the dark).
2. Blend the two shades. “Using a blending brush, blend the two shades on your face to create the subtle illusion of depth and dimension.”
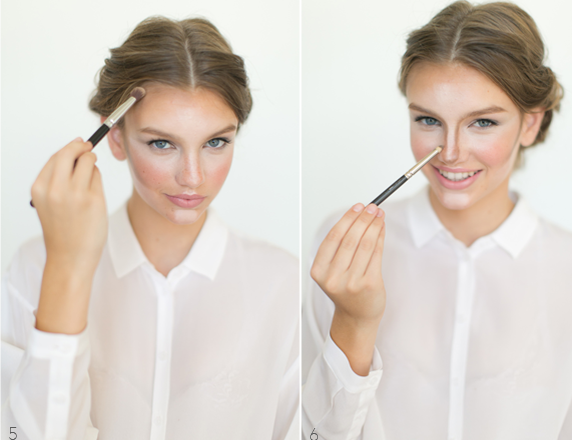
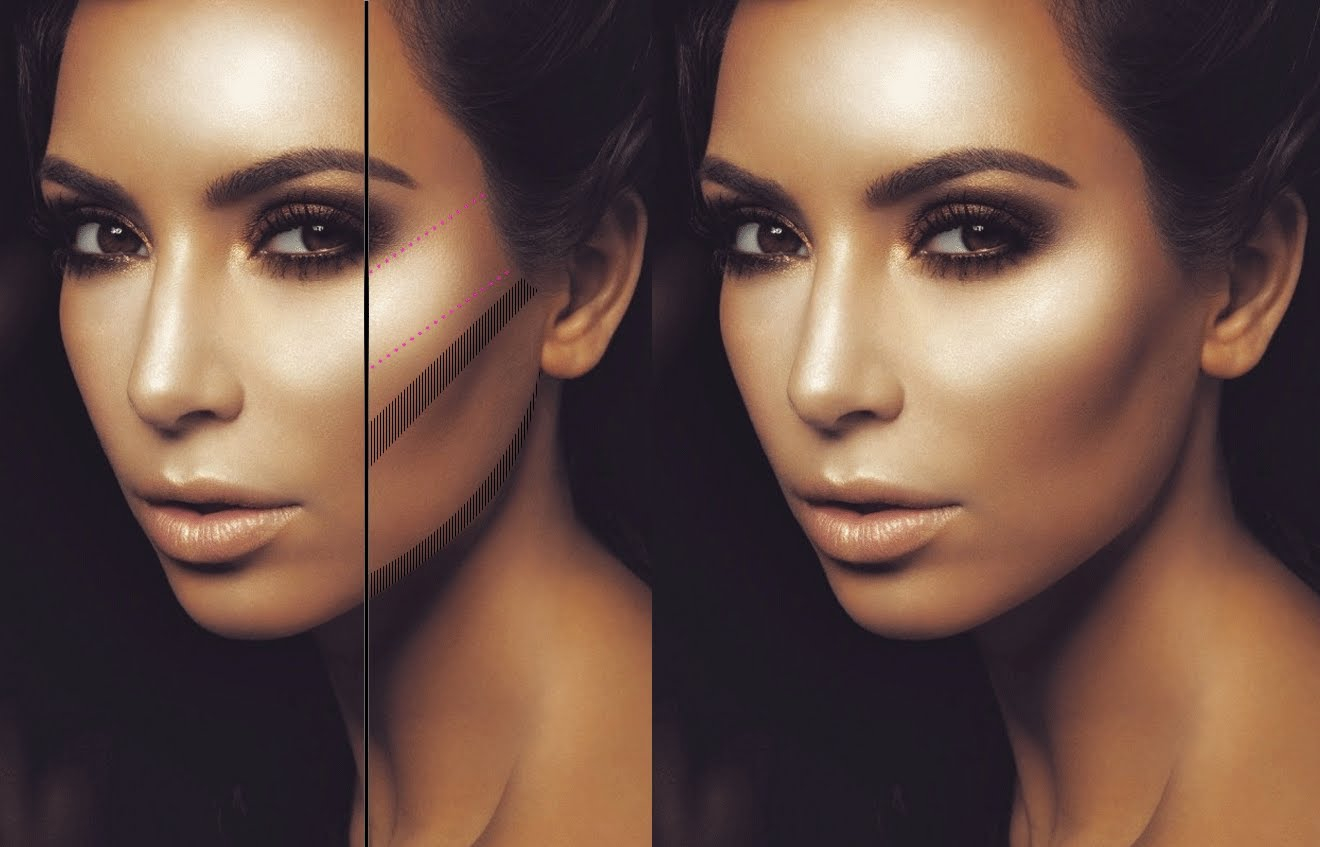
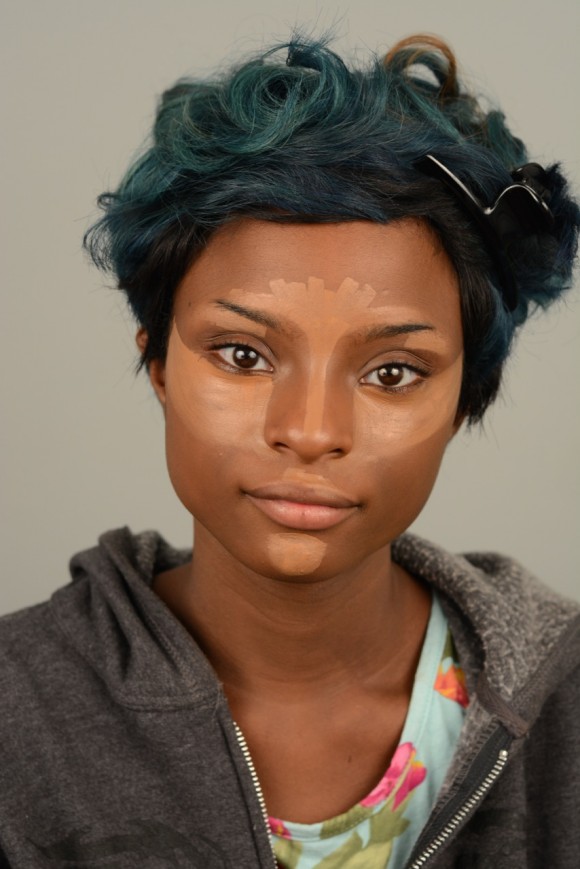
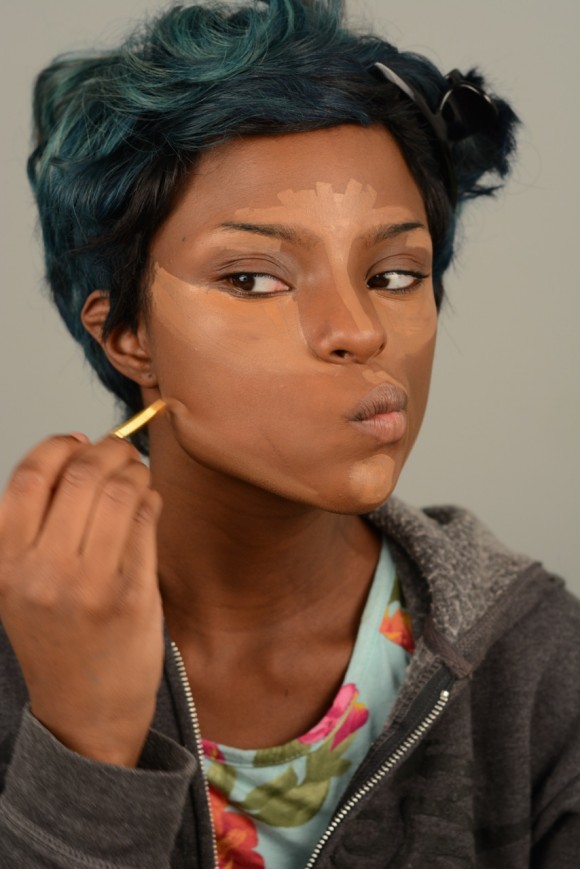
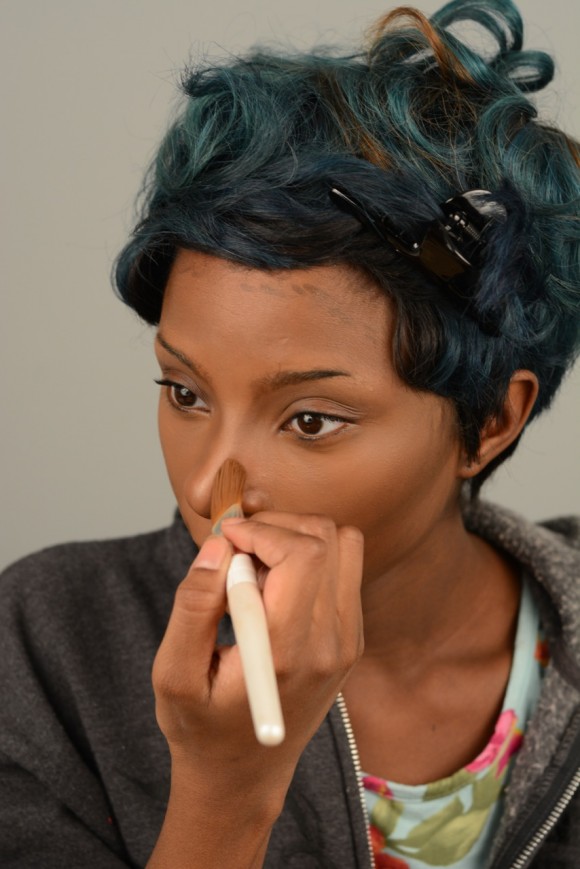
3. Map the contours and highlights of your face. “Mark the areas you want to contour — the hollows under your cheekbones, your temples, along your hairline, jawline, the sides of your nose, the tip of the nose, and the crease of your eyes — with a brow or a concealer pencil,” . Brow gel pencils are really concentrated, yet very smudgeable and it’s easy to control the placement of their dark pigment, making it perfect for contouring. “Next, use an all-over cream highlighter on the tops of your cheekbones, on the center of your forehead, the bridge of your nose, the center of your chin, and on your cupids bow.” Here is used IT Cosmetics Brow Power Perfector Gel Pencil in “Auburn” and Mac Cosmetics Cream Colour Base in “Luna.”
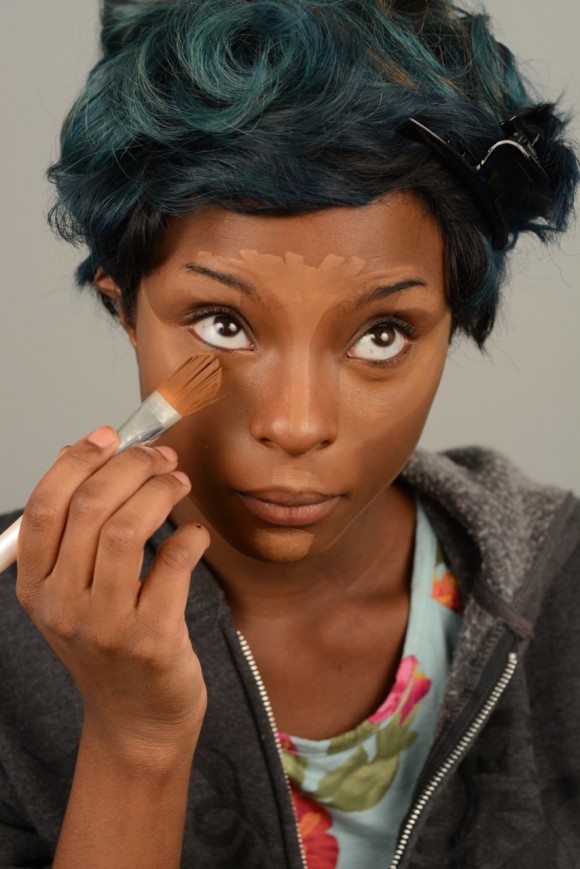
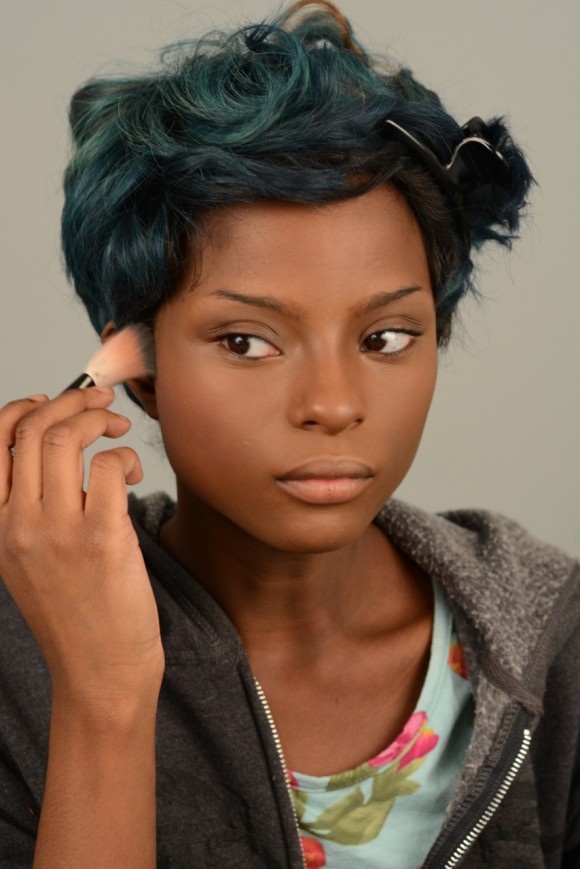
4. Blend the two for a flawless finish. “Create that sculpted airbrushed effect using a flat top dense brush to buff out the two shades to perfection,” . Here,is used IT Cosmetics Heavenly Luxe Flat Top Buffing Foundation Brush.
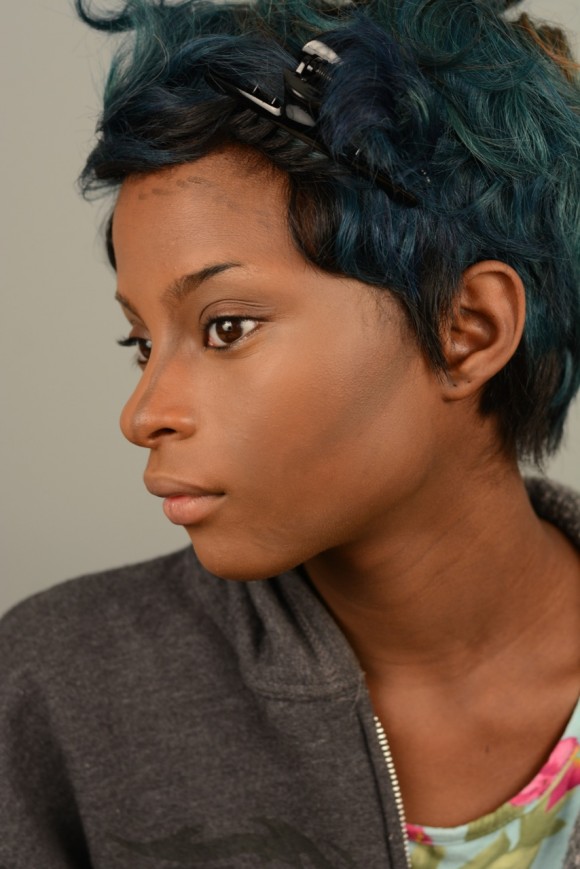
Lastly, bump up the contours and highlights with MAC Sculpt and Shape Powders and consider yourself contoured!,here is used “Definitive” to enhance the contoured areas on your face and “Emphasize” to illuminate the highlighted spots.
Highlighting and contouring according to rookie rookie
Highlighting and contouring are two crafty li’l tricks that you can use to enhance your bone structure and make it look like you’re constantly under the most flattering movie lighting possible. Even if you’re not going to an event, it’s fun to experiment with elements of ~drama~ in your makeup. This tutorial will show you how to use foundation, concealer, and powder to put a spotlight on your natural gorgeousness. Let’s get to it!
What you’ll need:
- Liquid foundation in your normal shade. (I used Revlon ColorStay Foundation in Cappuccino.)
- Liquid concealer or foundation in a slightly lighter color than your skin. (Mine’s L.A. Girl Pro Conceal in Warm Honey.)
- Concealer, foundation, or powder in a slightly darker color than your skin. (I used M.A.C. Eye Shadow in Embark.)
- Setting powder (Mine: M.A.C. Mineralize Skinfinish Natural powder in Dark.)
- Blush (Mine came from a Kleancolor palette like this one.)
- A powder brush such as this kabuki brush from Claire’s.
- Optional: a foundation brush or sponge like this one from e.l.f.
- Optional: a concealer brush like this one from e.l.f.
A note on picking your contour and highlight colors: Don’t choose shades that are drastically lighter or darker than your natural skin tone. If you have fair skin, use a very light shade to highlight and a fair to medium color to contour. If you have darker skin, use a medium-toned highlight and a contour slightly deeper than your skin color. If you have very dark skin and can’t find a deeper shade of foundation to contour with, a dark eye shadow will do the trick!
step 1
After cleaning and moisturizing your skin, apply your foundation all over your face using a foundation brush or your fingers.
step 2
Blend your foundation to about midway down your neck. Since my skin is naturally darker there, this step makes the difference between my face and neck less stark.
step 3
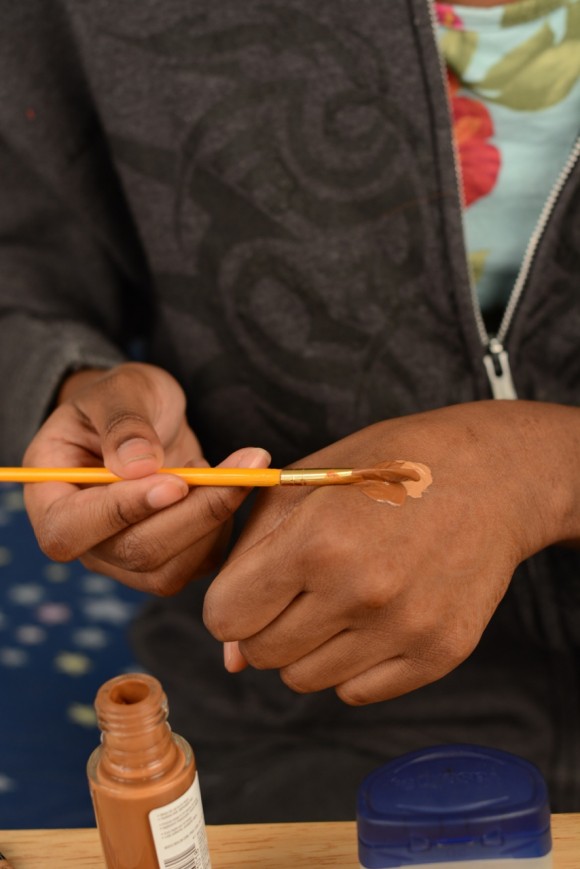
Mix your lighter concealer or foundation with your regular foundation using a brush or your fingers.
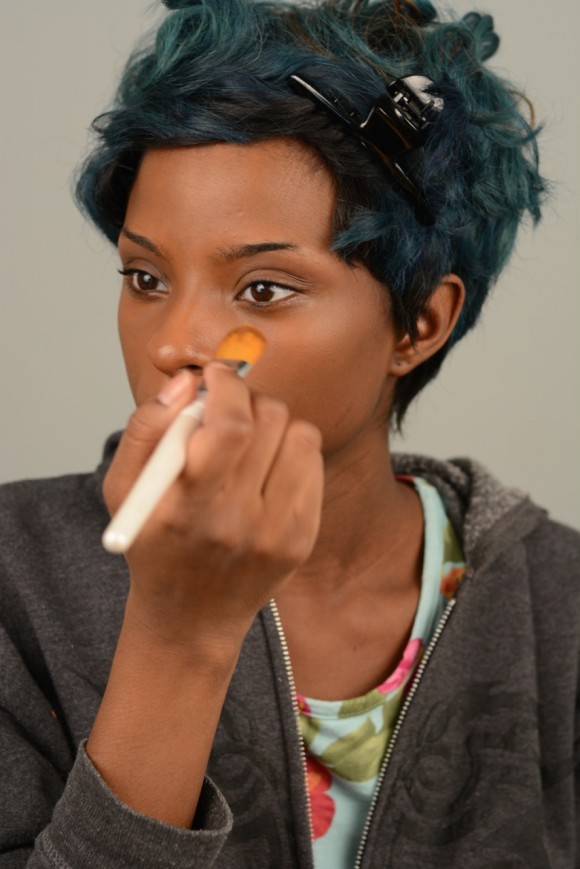
step 4
Using a concealer brush or your fingers, apply the lighter makeup mixture to your T-zone (the area right above your eyebrows and the spot between them, if you have one; down the center of your nose; the middle of your upper lip; and the middle of your chin), your under-eye area, and right above your cheekbones.
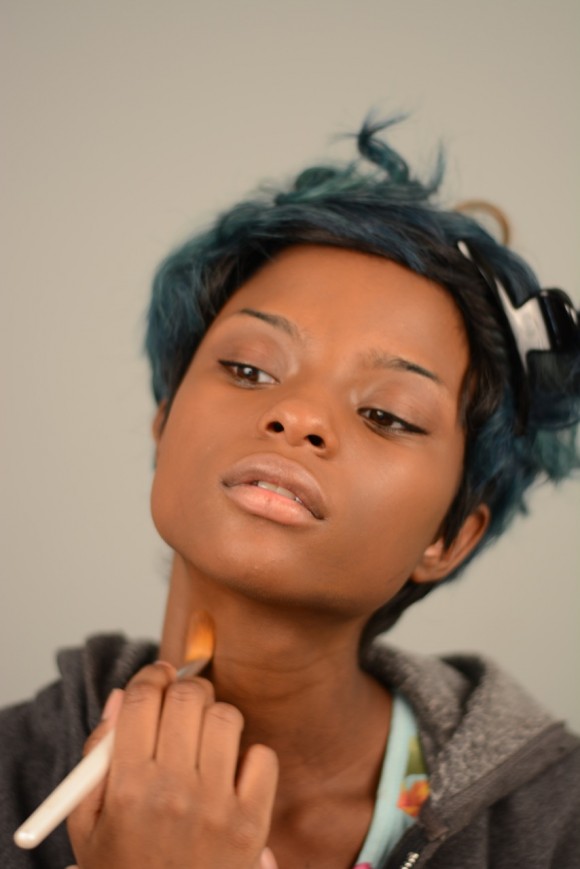
step 5
Paint a thin line with this highlighting mixture right above your jawline.
step 6
Use a brush, sponge, or your fingers to blend your makeup until there is no visible line of demarcation between the highlighter and your foundation. You want this to look seamless.
step 7
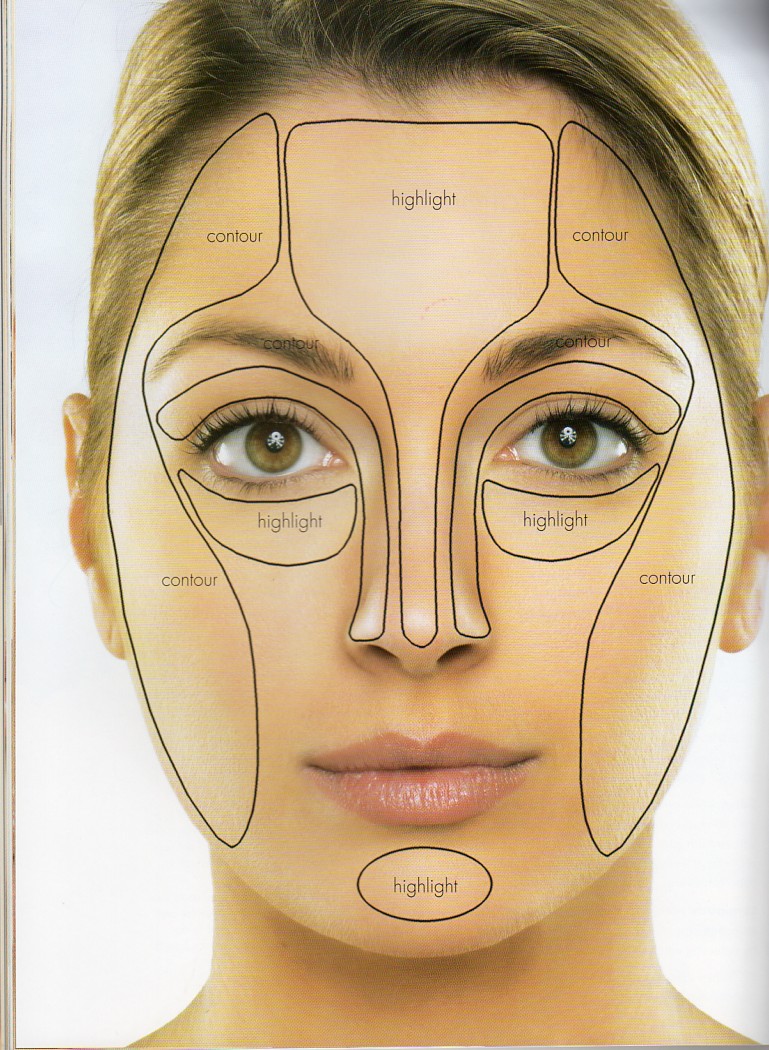
The “contour,” or darker makeup, goes on the sides of your nose, right under your cheekbones, and around your hairline (the darkest areas on the diagram above).
step 8
Blend in your contour just like you did your highlight. Easy, right?
step 9
Apply finishing powder to your whole face to get rid of any excess shine and set your makeup.
step 10
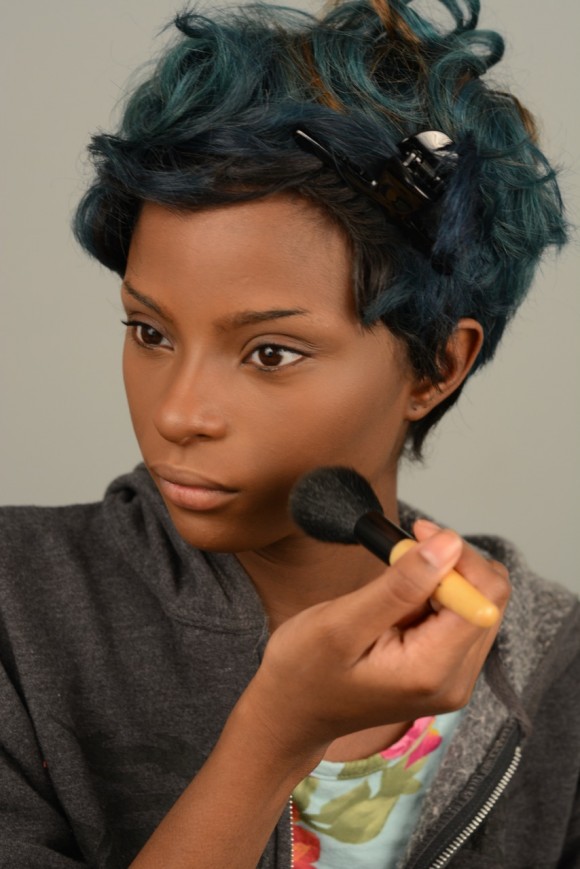
Add blush to your cheeks, moving upward from the apples to your temples. This will add dimension to your face and give you a pretty glow.
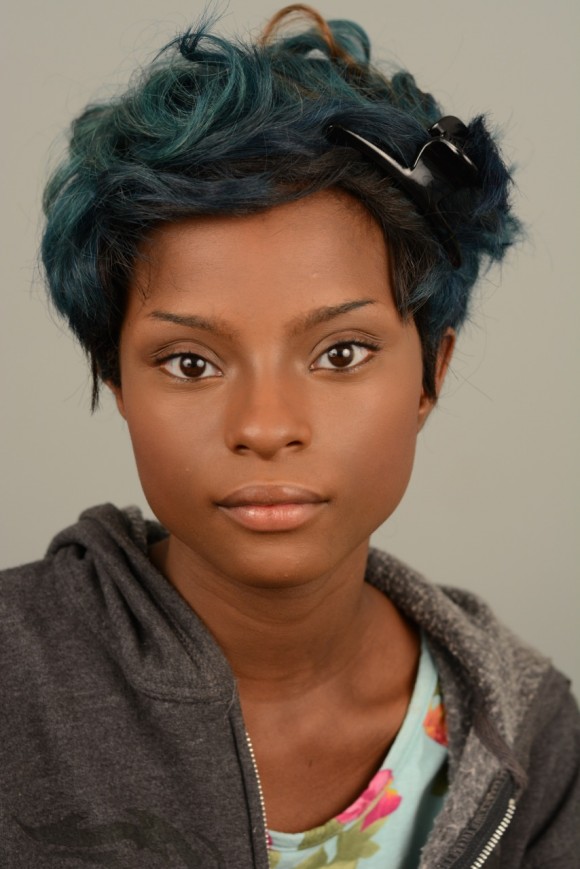
Wow! You’re all set. Now go astound the world with your flawless skillz!